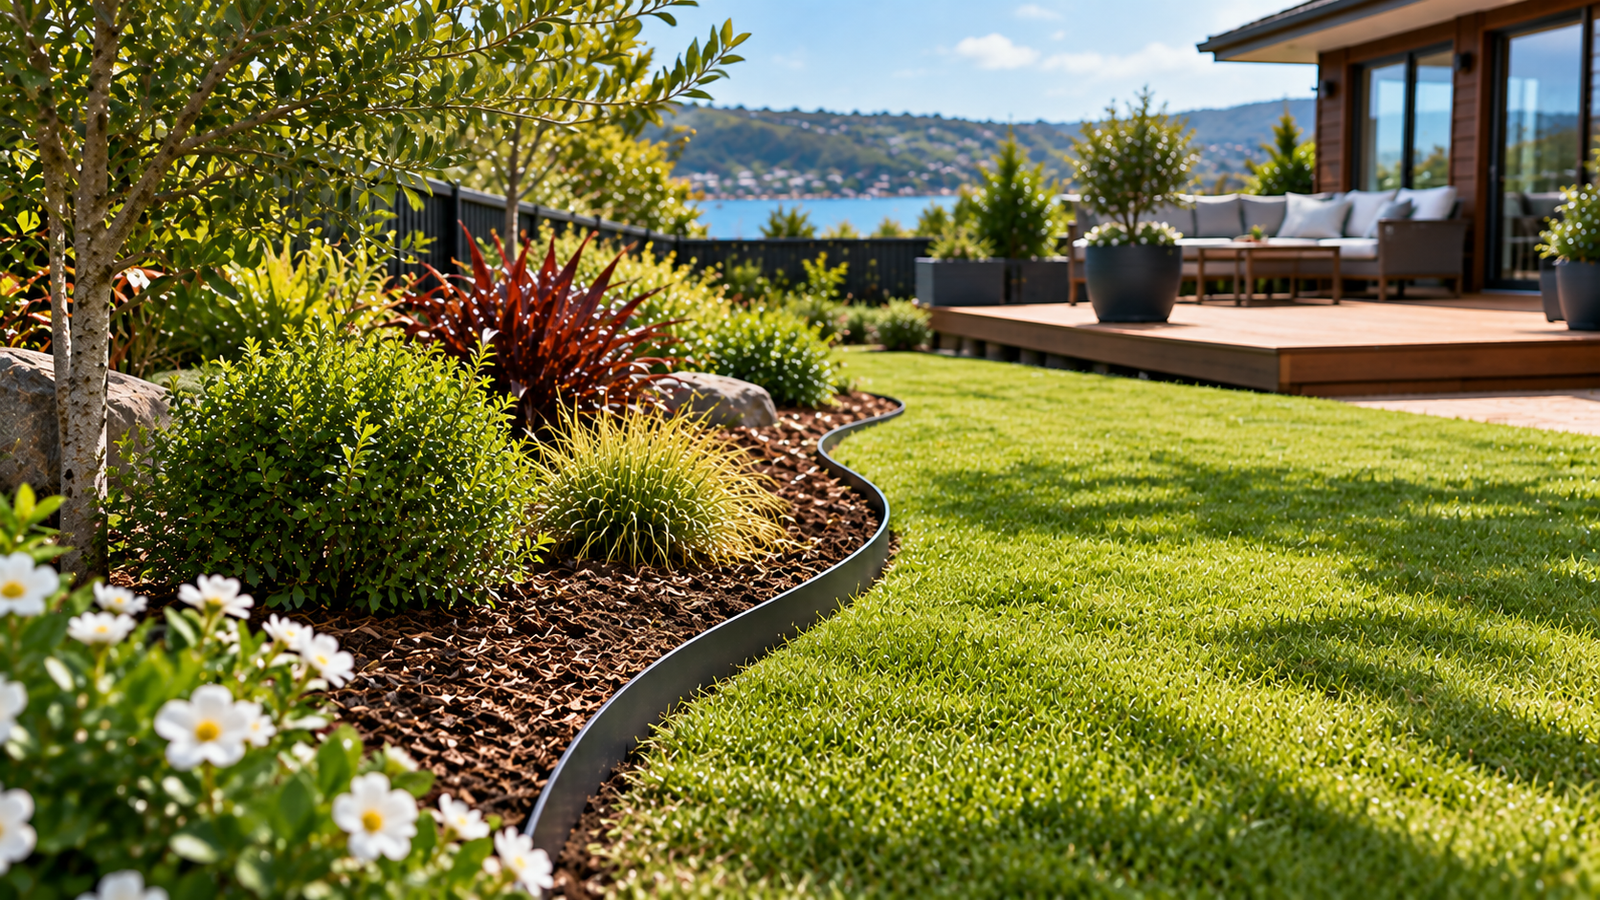
A clean garden edge can make a lawn, path or planting bed look finished in a single afternoon — but the best-looking result usually comes from getting the preparation right rather than simply hammering edging into the ground. This guide explains how to install garden edging step by step, with practical notes for timber, steel and flexible edging commonly used in New Zealand gardens.
Mark the line, measure the full run, check for underground services, cut a narrow trench, set the edging to the height recommended for that product, secure the joins and pegs or stakes, check the line again, then backfill and compact the soil on both sides. For straight runs, use a string line; for curves, use a garden hose or twine as a guide. Installation depth and fixing spacing vary by edging system, so the manufacturer’s instructions should always take priority.
Before you start: plan the edge, not just the material
Garden edging does several jobs at once: it separates lawn from garden beds, helps contain mulch or gravel, creates a mowing line and gives the landscape a more deliberate shape. If you are still choosing a material, start with our guide to garden edging in New Zealand. Timber, steel, plastic and masonry can all work well, but they are installed differently and produce very different finishes.
Walk the proposed line before you dig. Look for irrigation, drainage grates, tree roots, paving, retaining structures and anything else that could affect the route. A small change to the line at this stage is much easier than trying to force edging around an obstacle later.
WorkSafe New Zealand advises people carrying out ground-penetrating work to check for underground gas, electricity, water and telecommunications services before digging or driving stakes into the ground. Utility plans are useful, but they may not always show the exact location or depth of every service. For a home project, use the appropriate utility or council information and consider the beforeUdig service where relevant. If you are unsure what is below the proposed edge, do not guess.
Tools and materials you may need
The exact kit depends on the edging system, but most small DIY installations use a fairly short tool list.
| Tool or material | What it is used for |
|---|---|
| Garden hose, twine or marking paint | Laying out curves and checking the route before digging. |
| String line and stakes | Keeping long straight sections aligned and level. |
| Tape measure | Measuring the run, section lengths and finished height. |
| Spade or edging shovel | Cutting the trench and removing soil or turf. |
| Rubber mallet | Setting edging or pegs without unnecessarily damaging the finish. |
| Pegs, stakes, joiners or screws | Fixing the edging according to the chosen system. |
| Spirit level | Useful where an even top line matters, particularly for timber. |
| Gloves and eye protection | Basic protection when digging, cutting or handling metal and timber. |
If you are cutting treated timber, New Zealand’s Environmental Protection Authority recommends gloves and eye protection and, when sawing, sanding or using power tools, a suitable filter mask to reduce dust exposure. CCA-treated timber should be worked outdoors. Treated timber offcuts and sawdust should not be burned or added to compost or garden mulch.
How much garden edging do you need?
For a straight border, measure each section and add the lengths together. For a curved border, run twine or a flexible tape along the exact route, then measure that line. Bunnings New Zealand recommends allowing an additional 10 percent when calculating edging quantities, which gives some room for cuts, joins and small layout changes.
If the measured border is 12 metres, adding 10% gives a working quantity of about 13.2 metres. If your edging comes in fixed-length sections, round up to complete sections rather than trying to buy exactly 13.2 metres.
Check how the product joins before buying. Some steel systems interlock, some need separate joiners, flexible edging may overlap, and timber normally needs stakes or posts. The join system can affect the amount of material and hardware you need.
How to install garden edging: step by step
-
Mark the final line
Use a tightly stretched string line for straight borders. For curves, a hose or length of twine lets you adjust the shape several times before committing. Stand back and view the line from different angles — especially from the house, patio and main path.
-
Remove turf and open a narrow trench
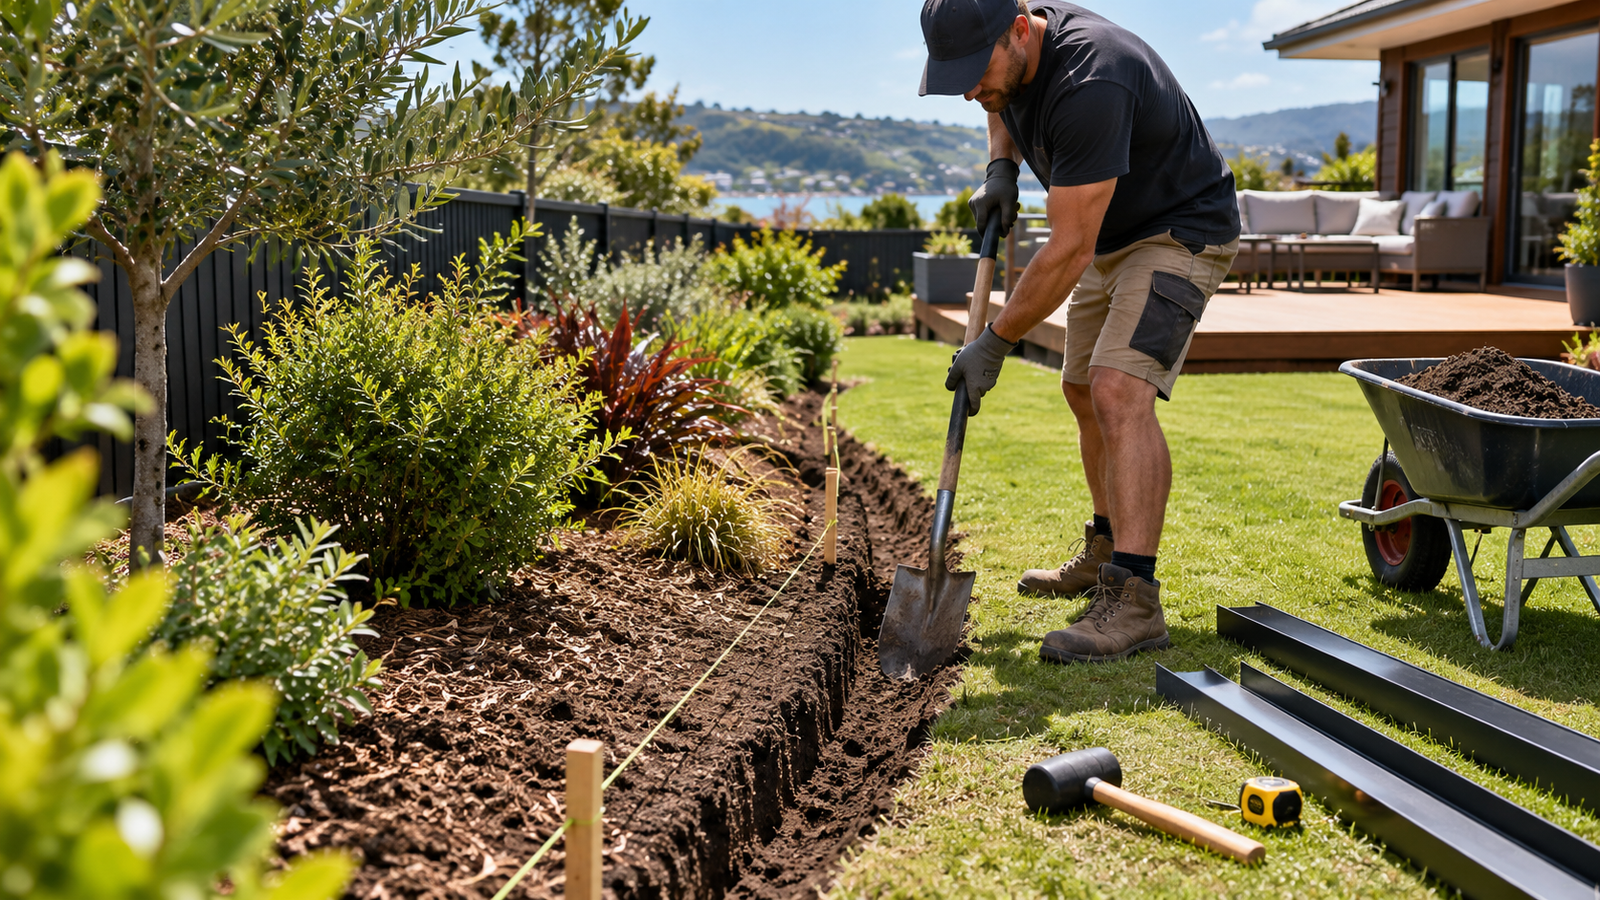
Cut along the marked line with a spade. Keep the trench only as wide as necessary for the edging plus enough space to backfill. Bunnings NZ suggests setting general garden edging into a narrow trench and notes that many products sit partly below ground. However, there is no universal trench depth: follow the dimensions and installation instructions supplied with your particular edging.
-
Prepare the base
Remove loose clods, roots and stones that would push the edging out of line. For a simple flexible or steel border, a level soil base may be enough. Timber and heavier systems benefit from more careful levelling so one section does not sit noticeably higher than the next.
-
Dry-fit the edging before fixing it
Lay the pieces in place and connect or overlap them without fully driving the stakes or spikes. Check the line, the joins and the height. This is the easiest moment to correct a kink, a poor curve or a section that finishes awkwardly.
-
Secure the edging
Install the pegs, stakes, spikes or fixing screws specified for the product. A Bunnings NZ general edging guide suggests a peg roughly every metre and at joins for the system it demonstrates, but different products can require very different fixing patterns. Integrated-spike steel edging, for example, may not need separate pegs at all.
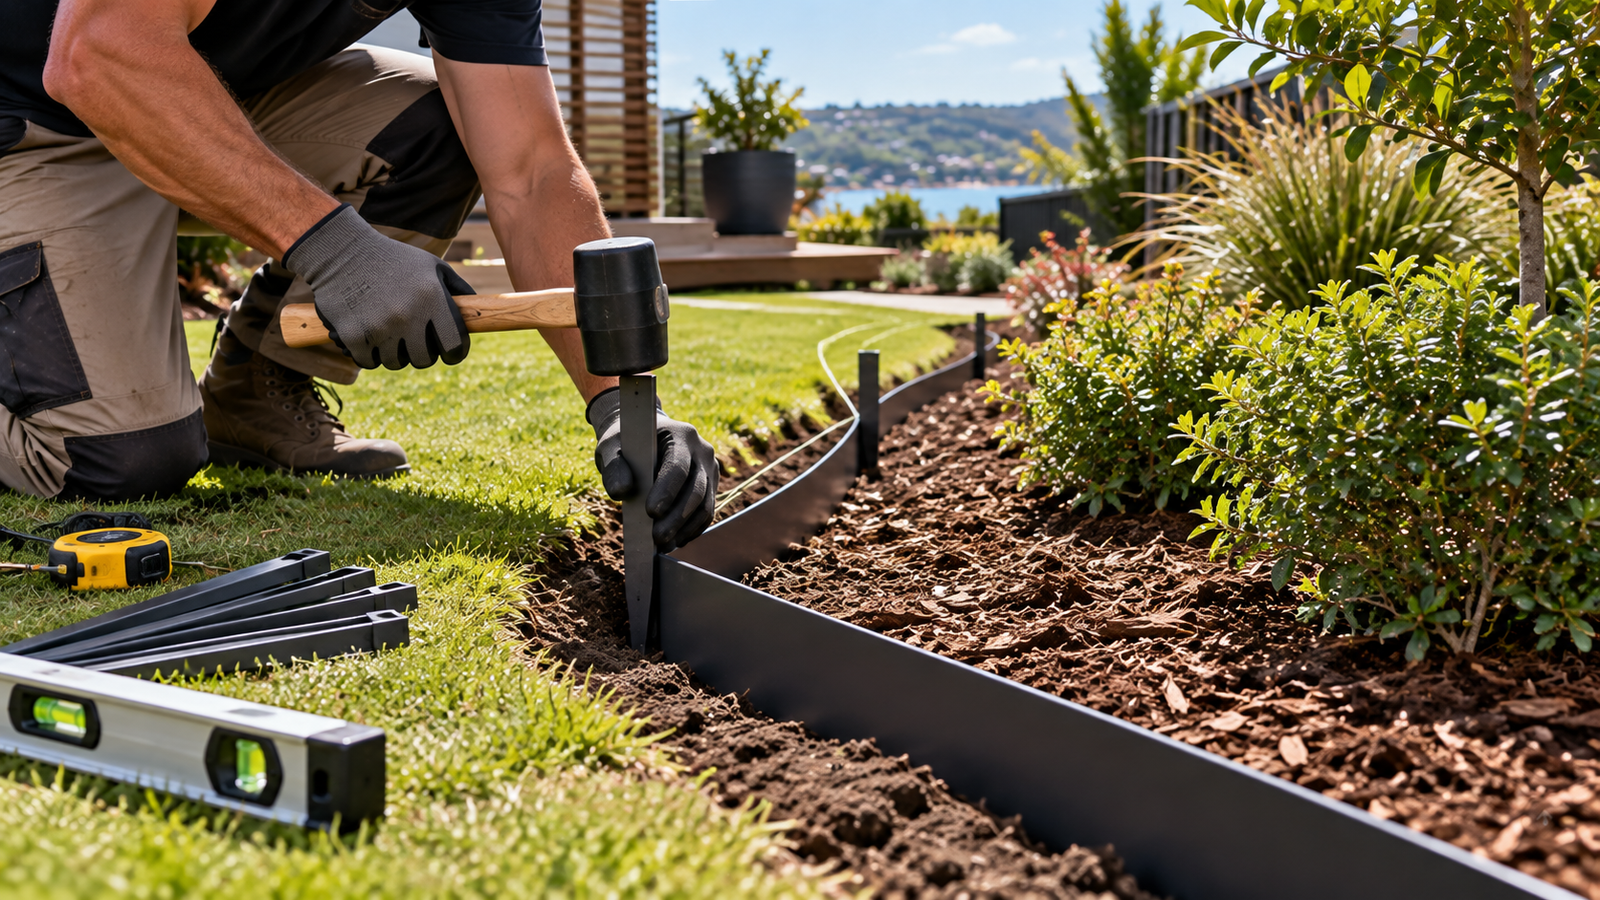
Fixings should match the edging system, with alignment checked before the soil is backfilled. -
Check alignment and finished height
Before backfilling, look along the edge from a low angle. Straight sections should read as one clean line; curves should flow without sudden flat spots. Correct height now, while the edging can still move.
-
Backfill and firm the soil
Return soil to both sides of the trench and firm it around the edging so it cannot wobble. Avoid aggressive compaction that distorts flexible products. If the border separates a bed from lawn, leave the lawn side at a practical mowing height and keep mulch or gravel on the bed side below the top where possible.
How deep should garden edging be?
This is one of the most common questions — and one of the easiest places to give bad blanket advice. There is no single correct depth for every garden edging material.
Bunnings NZ’s general guide describes a trench deep enough for the edging to reach about halfway down. By contrast, DLM Wallace’s Corten steel guide describes an optional trench of around 50 mm for its system before the connected edging is tapped into place. Other steel products have integrated spikes that are designed to penetrate the soil while the visible blade stays at a set height.
The practical rule is to decide what the edge must contain and how it will interact with mowing. A low lawn separator generally needs less exposed height than an edge holding back a deep layer of bark, gravel or raised soil. Always keep the manufacturer’s minimum installation depth and fixing method as the controlling specification.
Straight lines vs curves
Straight runs
A string line is the simplest way to avoid a border that looks straight close up but wanders when viewed from a distance. Fix the two ends first, pull the line taut, and work towards the middle while repeatedly checking the top edge.
Curves
Use a hose or twine to test the curve before digging. Broad, confident curves usually look more deliberate than a series of small wiggles. Flexible steel and plastic are particularly useful here, although the minimum bend radius depends on the specific product.
Mow the lawn mentally before you install the edging. Very tight corners, tiny peninsulas of turf and abrupt S-curves may look interesting on paper but can make routine mowing and trimming frustrating.
How to install timber garden edging
Timber edging is usually fixed to stakes or pegs and works especially well for straight runs, vegetable gardens and informal borders. If the timber itself will be in direct contact with soil, treatment class matters in New Zealand.
The New Zealand Timber Preservation Council lists H4 as the hazard class for timber in direct ground contact or fresh water, and specifically includes garden edging among typical H4 uses. H3.2 is intended for exterior timber above ground or situations where moisture can become trapped; it is not the same exposure category as timber buried against soil.
For a detailed material discussion, see our Timber Garden Edging NZ guide.
Basic timber method
- Set a string line and mark the finished height.
- Cut a trench and prepare an even base.
- Position the timber and hold it temporarily in line.
- Drive suitable stakes into the ground on the bed side.
- Fix the timber to the stakes with fasteners suitable for the timber treatment and outdoor exposure.
- Check line and level before backfilling.
EPA New Zealand says the risks from treated timber used in planters and raised vegetable beds are negligible, but some treatment chemicals can leach into soil over time. To further reduce exposure, the EPA suggests planting a few centimetres away from treated timber or lining the planter with plastic; naturally durable untreated timbers or alternative materials are other options. This is particularly relevant when edging directly borders edible crops.
How to install steel garden edging
Steel edging can create very thin, precise borders and is well suited to curves, lawns and modern garden designs. But steel systems differ significantly.
Some New Zealand products, such as EverEdge, are designed with integrated spikes and interlocking ends, so the edging can be tapped directly into the ground without separate pegs. DLM Wallace’s Corten system uses interlocking sections and recommends laying out and connecting the run before fully hammering it into place; its guide suggests an optional 50 mm trench for a cleaner, more secure installation.
That is why a generic instruction such as “use one peg every metre” should never override the system supplied with the edging. See our Steel Garden Edging NZ guide if you are still comparing galvanised, powder-coated and weathering-steel options.
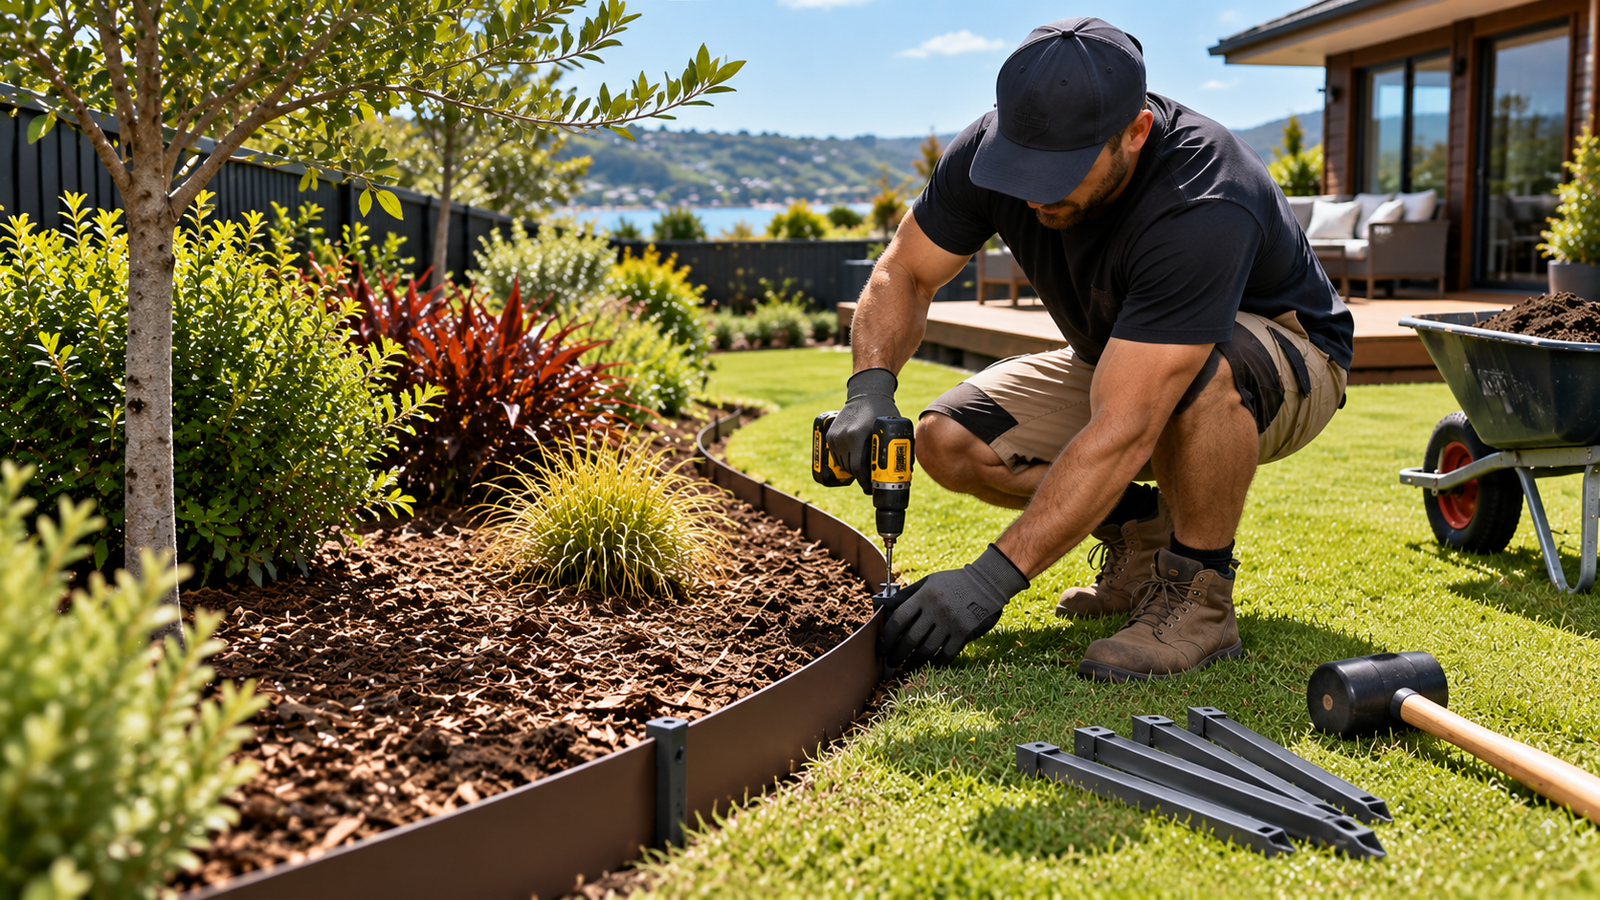
Basic steel method
- Mark the line and remove obstacles.
- Lay the sections out before driving them fully home.
- Connect the joins in the sequence specified by the manufacturer.
- Form curves gradually through the body of flexible sections rather than forcing a bend at a connector.
- Tap the edging down progressively so the top stays consistent.
- Backfill and compact lightly on both sides.
How to install plastic or flexible garden edging
Flexible edging is generally forgiving on curves and often comes in rolls. Bunnings NZ advises unrolling flexible materials along the prepared edge, then securing them with the appropriate pegs. On circular installations, its tree-edging guide shows overlapping the two ends by about 10 cm before fastening the overlap, although the correct join for your product may differ.
If rolled edging has developed a strong curl in storage, lay it out before installation so it is easier to control. Do not stretch it tightly between pegs: temperature changes and soil movement can make an over-tensioned edge buckle or pull away from fixings.
Common garden edging installation mistakes
| Mistake | Why it causes problems | Better approach |
|---|---|---|
| Digging before checking services | Stakes and trenches can encounter buried utilities. | Check underground services before any ground penetration. |
| Buying the exact measured length | Cuts, joins and small layout changes create shortages. | Allow contingency; Bunnings NZ suggests about 10%. |
| Fixing everything before checking the line | Kinks and uneven heights become harder to correct. | Dry-fit first, then secure progressively. |
| Using one installation method for every material | Steel, timber and flexible products use different supports and joins. | Follow the actual product system. |
| Using the wrong timber treatment | Above-ground treatment is not automatically suitable for direct soil contact. | For treated timber in ground-contact edging applications, check for the appropriate NZ hazard class such as H4. |
| Leaving soil loose around the edge | The border can wobble, lean or move after rain. | Backfill both sides and firm the soil evenly. |
| Creating overly tight lawn curves | Mowing and trimming become awkward. | Use smoother, more generous radii where possible. |
How to get a professional-looking finish
The most convincing garden edges tend to share three traits: the height is consistent, the joins are discreet, and the surrounding surfaces finish cleanly against the edge.
On a lawn, avoid leaving a ragged strip of bare soil beside the edging. Bring turf or topsoil neatly back to the border and allow grass to establish to the line. On the garden side, keep mulch, bark or gravel slightly below the visible top rather than burying the edging completely.
After the first heavy rain, inspect the run again. Freshly disturbed soil can settle and reveal low spots or loose stakes. Correcting these early helps the border stay straight.
Does garden edging need maintenance?
Yes, but usually not much. Flexible edging may need an occasional peg reset if soil shifts. Timber should be checked for loose fixings, movement and decay, especially where moisture remains trapped. Steel edging generally needs little structural attention, although weathering steel naturally changes appearance as its patina develops.
The garden itself also changes. Lawn runners, expanding plants, roots and repeated mower contact can gradually alter the line, so a quick inspection once or twice a year is worthwhile.
Which edging is easiest to install?
For many small DIY borders, flexible roll edging and integrated-spike steel systems are among the quickest because they require relatively few separate components. Timber is still very manageable but usually involves more measuring, cutting, staking and fastening. Masonry or concrete borders generally require more base preparation and are less forgiving if the layout needs to change later.
The “easiest” option is not always the best one. Choose the material for the job first, then follow the correct installation method rather than choosing purely on installation speed.
Frequently asked questions
Can I install garden edging without digging a trench?
Some spike-based steel systems are designed to be driven into suitable soil without a conventional trench. Other products need a trench or prepared base. Check the manufacturer’s instructions rather than assuming every edging type can be hammered directly into the ground.
How deep should I bury garden edging?
It depends on the product and what the edge is retaining. Bunnings NZ’s general guide describes setting edging approximately halfway into a trench, while some Corten systems use an optional trench around 50 mm deep plus integrated spikes. The product specification should determine the final depth.
How do I keep a straight garden edge?
Stretch a string line between stakes at the start and end of the run. Set the edging against that reference and check it repeatedly before fully fixing and backfilling.
How do I measure a curved garden border?
Lay twine or a flexible hose along the complete curve, mark the end, then measure the twine. Add a reasonable contingency for joins and cuts; Bunnings NZ suggests around 10% extra material.
Should timber garden edging in NZ be H4 treated?
If treated timber is in direct ground contact, H4 is the relevant New Zealand hazard class commonly used for landscaping applications including garden edging, according to the New Zealand Timber Preservation Council. Always confirm the treatment stamp and suitability of the actual product.
Can treated timber edging be used around a vegetable garden?
EPA New Zealand says the risks associated with treated timber in planters and raised vegetable beds are negligible, but recommends simple precautions if you want to reduce potential exposure further, such as lining the inside or keeping edible plants a few centimetres away from the timber.
Final verdict
Good garden edging is less about complicated DIY skills and more about careful layout. Mark the route first, measure with contingency, check for buried services, keep the trench and finished height consistent, and use the fixing system designed for the material you bought.
For New Zealand gardens, the material-specific details matter. Ground-contact timber needs the appropriate treatment class, steel systems may use very different spike and joining designs, and flexible edging needs enough support to hold its shape. Get those details right and even a relatively inexpensive border can look crisp, deliberate and built to last.
Sources and further reading
- Bunnings New Zealand — How to install garden edging
- Bunnings New Zealand — How to install garden edging around a tree
- WorkSafe New Zealand — Excavation safety
- beforeUdig New Zealand — Utility location information
- New Zealand Timber Preservation Council — Choosing the right timber / hazard classes
- Environmental Protection Authority NZ — Treated timber
- DLM Wallace — Corten steel garden edging installation guide
- EverEdge NZ — Steel landscape edging system information
Related Articles

2 Comments
[…] For material-specific methods, read our step-by-step guide to installing garden edging. […]
[…] a broader step-by-step overview covering multiple materials, see our How to Install Garden Edging […]