Garden Design · New Zealand Guide · Updated October 2026
The best garden edging in NZ is not necessarily the most expensive. A simple timber border may be perfect for a vegetable garden, while a slim steel edge can make a modern lawn look professionally finished. The challenge is choosing a material that suits your garden, budget and maintenance routine.
Whether you’re separating lawn from mulch, containing gravel or creating a curved planting bed, this guide compares the main garden edging materials available in New Zealand, explains their trade-offs and helps you plan the cost before buying.
Root & Yard Quick Answer
What Is the Best Garden Edging in NZ?
For straight garden beds, H4-treated timber is a practical and widely available option. For contemporary landscapes and smooth curves, steel is often worth considering. Flexible plastic edging suits simpler DIY projects, while brick, pavers and concrete work well where a more permanent border is wanted.
If you only need a clean lawn boundary and don’t mind regular maintenance, a spade-cut edge can be the most economical solution.
Garden Edging Materials Compared
Start by deciding what the border must do. A strip separating grass from mulch has different requirements from an edge holding back gravel or a raised garden bed containing a substantial depth of soil.
| Material | Best use | Curves | Main advantage | Main drawback |
|---|---|---|---|---|
| H4-treated timber | Straight garden beds | Limited | DIY-friendly, natural look | Eventually deteriorates |
| Steel | Modern lawns and paths | Excellent with suitable systems | Slim, precise finish | Finish and corrosion resistance vary |
| Flexible plastic | Curved beds and simple DIY | Excellent | Lightweight and easy to shape | Cheap profiles can lift or distort |
| Concrete | Permanent borders | Product-dependent | Solid and long-lasting | Harder to alter later |
| Brick or pavers | Traditional gardens and mowing strips | Moderate | Decorative and practical | Base preparation takes time |
| Natural stone | Rustic or native-inspired gardens | Moderate | Organic appearance | Uneven sizes complicate installation |
| Spade-cut edge | Simple lawn-to-bed boundaries | Excellent | Minimal material cost | Needs regular recutting |
There is no universal winner. The most suitable edging is the one that performs the required job without creating unnecessary maintenance.
Which Garden Edging Should You Choose?
Timber or flexible edging is often straightforward to measure, install and replace.
Coated or galvanised steel creates a restrained line that allows planting to remain the focus.
Look for flexible steel or plastic systems with an appropriate minimum bend radius.
Consider a flush mowing strip or a border designed to sit close to lawn level.
Choose an edge with sufficient height and anchoring to contain the gravel.
Brick, pavers or concrete can provide a substantial finished boundary.
The Main Garden Edging Materials in NZ
1. Timber Garden Edging
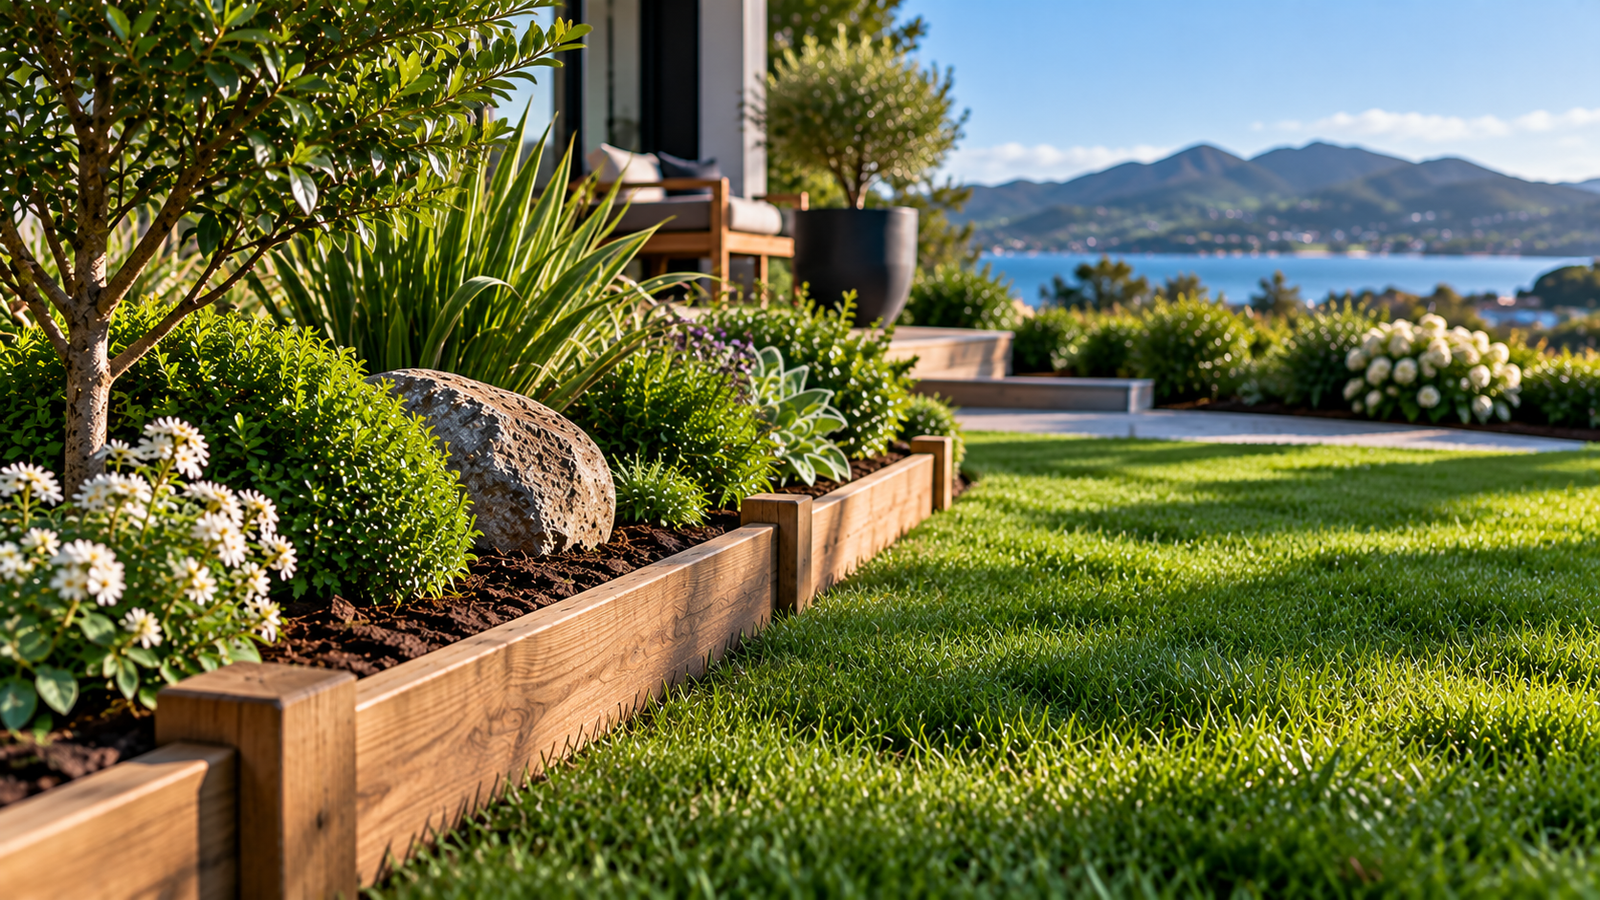
Timber remains a practical choice for New Zealand gardens, particularly around straight flower beds, vegetable plots and informal landscapes.
It is relatively easy to cut, fasten to pegs and replace in sections. The natural appearance also works well with mulch, bark and native-inspired planting.
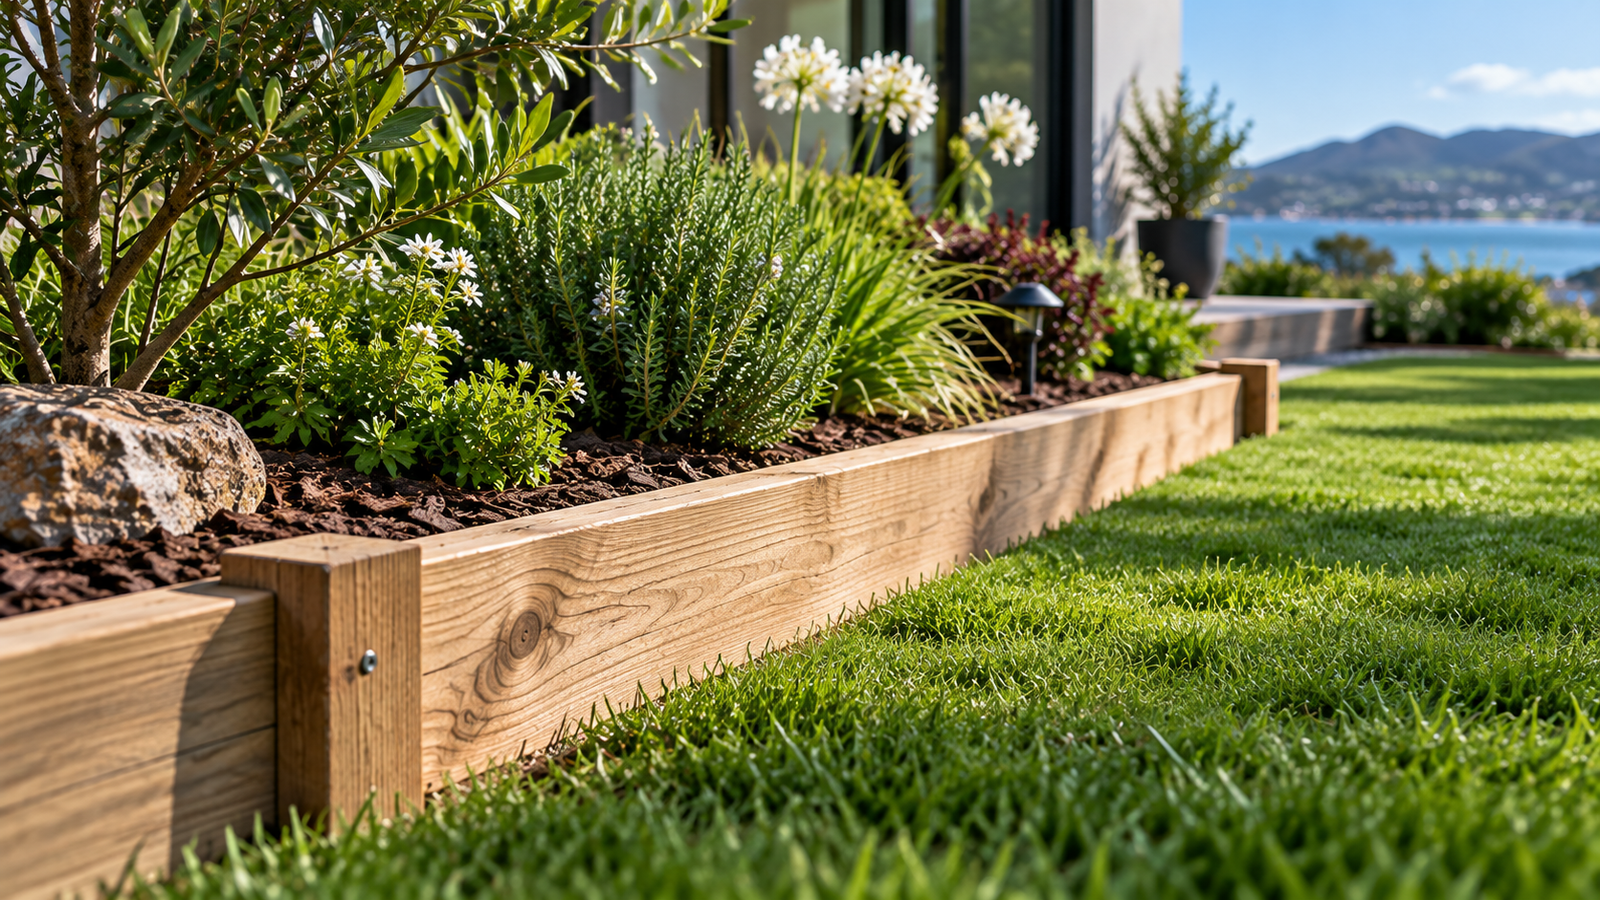
The important NZ detail is treatment class. Timber that remains in direct contact with the ground needs to be specified for that exposure. H4-treated timber is commonly used for ground-contact landscaping applications, while H3.2 is generally intended for above-ground exterior use.
Always confirm the specific product’s treatment and intended application. For edible gardens, also consider the preservative system and the relevant safety guidance.
Read our dedicated guide: Timber Garden Edging NZ: Best Wood & Installation.
2. Steel Garden Edging
Steel is particularly effective when you want a thin, crisp boundary. Suitable systems can follow long curves while keeping a consistent line between grass, gravel and planted areas.
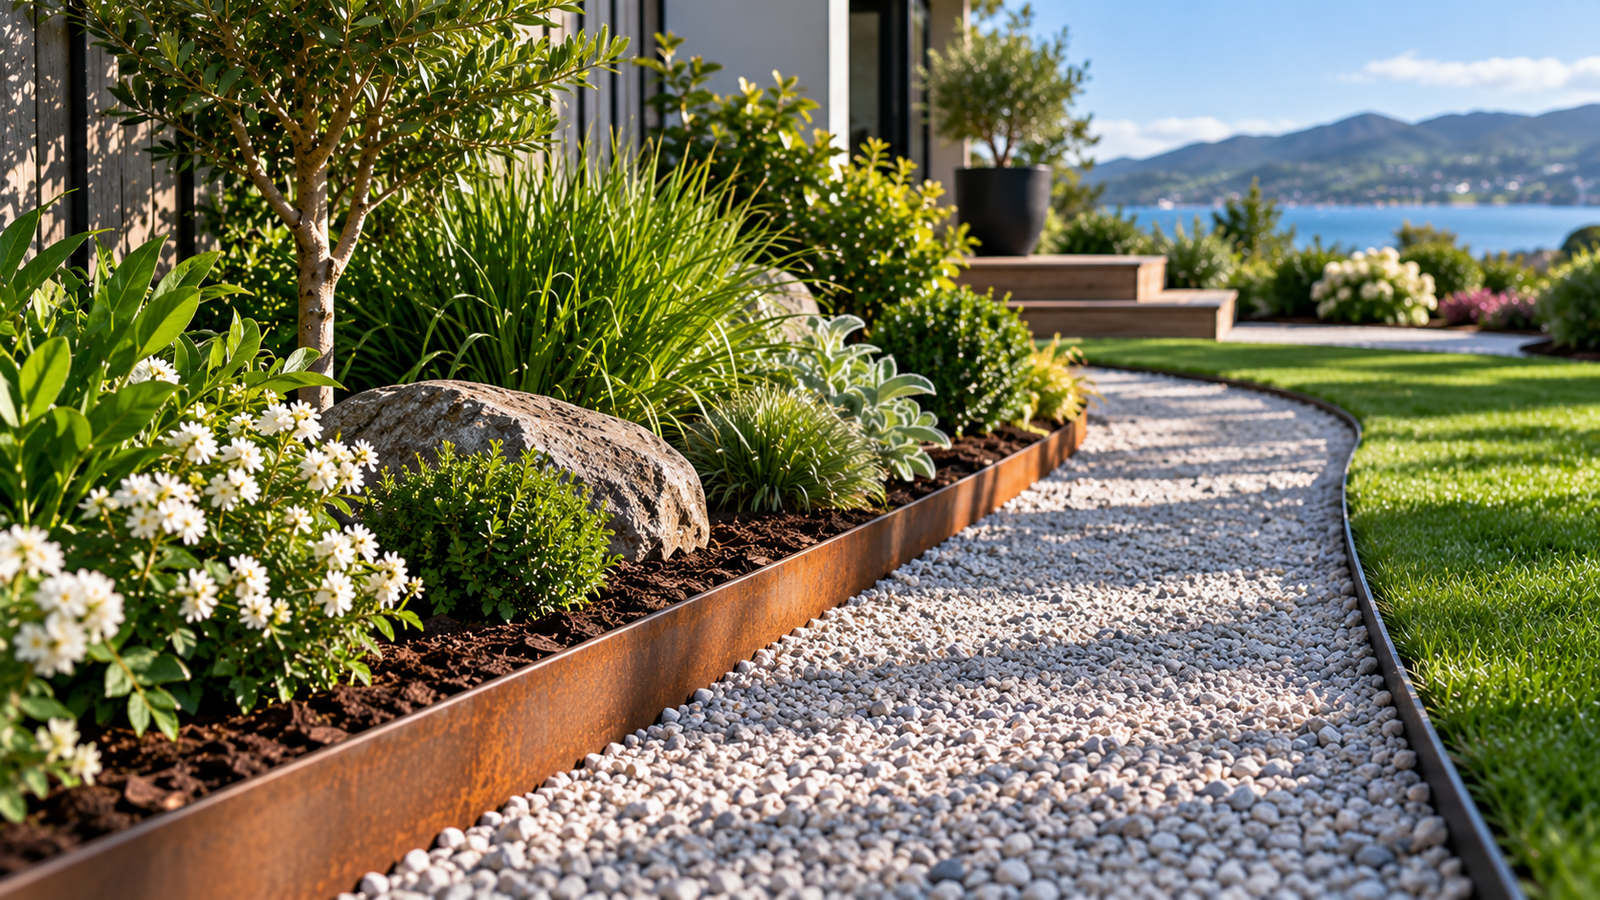
Common finishes include galvanised steel, coated steel and weathering steel. Their suitability depends on coating quality, thickness, fastening design and exposure conditions.
In coastal gardens, ask the supplier about corrosion resistance. Weathering steel can also produce rust-coloured runoff that may stain adjacent light paving.
Read more: Steel Garden Edging NZ: Types, Costs & Best Options.
3. Plastic and Composite Garden Edging
Flexible plastic or composite systems can be convenient for curved planting beds, tree surrounds and DIY landscaping.
Look for outdoor-rated materials, adequate rigidity and a secure anchoring system. The lowest-priced edging is not always the best value if it lifts after repeated mowing or seasonal soil movement.
4. Concrete Garden Edging
Concrete is useful for defined, substantial borders and permanent landscaping. Some systems create a practical mowing edge between lawn and planting.
The main consideration is flexibility: changing the layout later may require demolition or removal of the original border.
5. Brick and Paver Edging
Brick and paving units suit cottage gardens, established homes and designs where the border itself should be visible.
They can also form a mowing strip when laid appropriately. Good base preparation matters because movement and uneven settlement can spoil the finished line.
6. Natural Stone Edging
Stone works well where you want a relaxed, organic boundary rather than a perfectly straight manufactured line.
Its appearance depends on the stone selected, and irregular shapes can make installation more labour-intensive.
7. Spade-Cut Lawn Edging
A clean trench cut with a sharp edging spade can define the boundary between grass and a planting bed without buying edging materials.
The trade-off is maintenance. Grass runners and roots can cross the boundary, so the edge needs occasional recutting.
How Much Does Garden Edging Cost in NZ?
Garden edging prices vary considerably across New Zealand retailers. A basic flexible strip and a heavy-duty steel system should not be compared solely by the price of one pack.
The most useful comparison is the total installed cost per linear metre.
Step 1: Measure Your Border
Measure the entire route in metres. For curves, lay a hose or length of string along the proposed border and measure it afterwards.
Step 2: Allow for Cuts and Waste
For an initial estimate, adding around 10% can help cover cuts, joins and small changes. The amount needed will depend on the product and layout.
Step 3: Calculate Material Quantities
Worked Example
Suppose you have a 12-metre garden border and want a 10% allowance.
12 m × 1.10 = 13.2 m of estimated edging.
If the product comes in 2.4 m lengths:
13.2 ÷ 2.4 = 5.5 lengths
You would round up to 6 lengths, giving 14.4 m of material.
For a product priced at NZ$P per length, the edging material cost would be 6 × P, before stakes, connectors, delivery and installation.
Step 4: Include the Hidden Costs
- Stakes, pegs and proprietary connectors
- Corner pieces and end caps
- Cutting tools or equipment hire
- Base materials for pavers or masonry
- Delivery or freight
- Labour, if you are not installing it yourself
Check current prices with New Zealand suppliers such as Bunnings NZ and Mitre 10 NZ. Compare the full product specifications, not just the displayed pack price.
Seven Practical Garden Edging Ideas for NZ Homes
1. A Crisp Lawn-to-Flower-Bed Border
Use slim steel or a neat timber profile to create a clean transition between turf and mulch. This works particularly well when planting is intended to be the main visual feature.
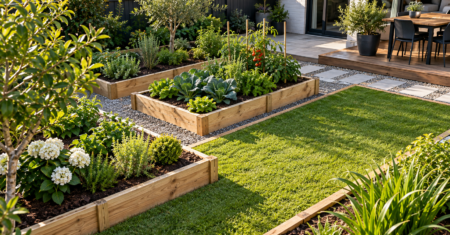
2. Straight Timber Borders Around Vegetable Gardens
Timber can create tidy, accessible boundaries around productive growing areas. If the edging will hold back a significant depth of soil, it needs a stronger design than ordinary lawn edging.
3. Curved Borders Around Native Planting
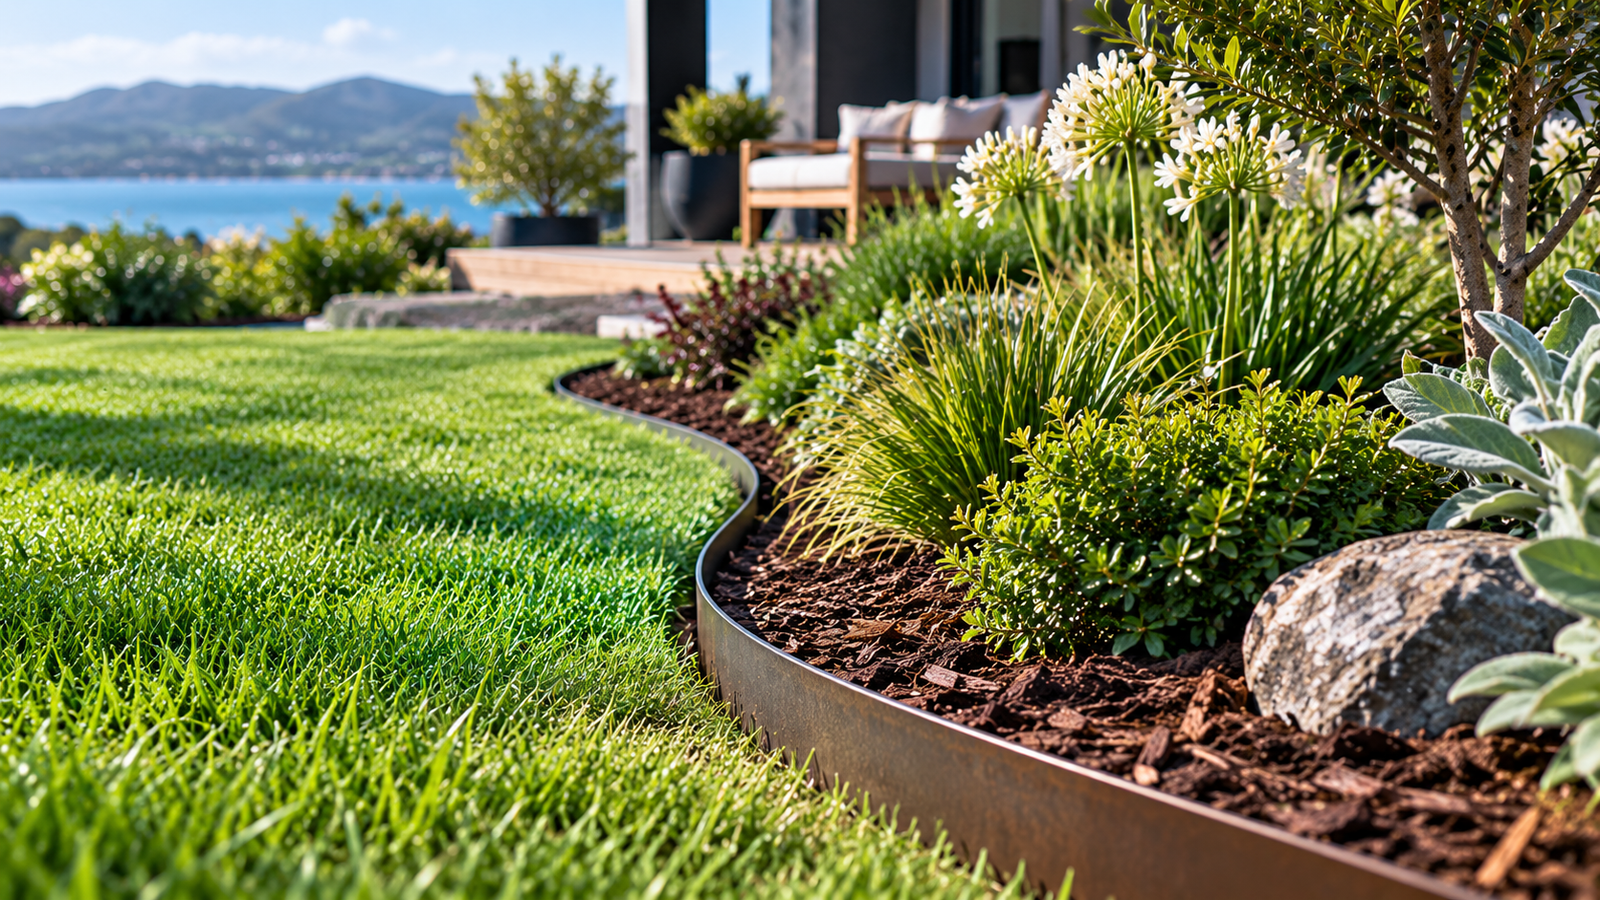
Broad curves can soften a rectangular lawn. Flexible steel or plastic is often easier to use than multiple short timber segments.
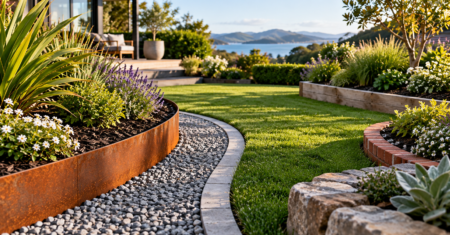
4. Hidden Edging Along a Gravel Path
A discreet border can prevent gravel spreading into nearby lawns and garden beds. Choose sufficient height and secure anchoring for the aggregate being contained.
5. Brick Mowing Strips
Flat-laid bricks or pavers can create a firm surface for mower wheels while giving a traditional garden a more finished appearance.
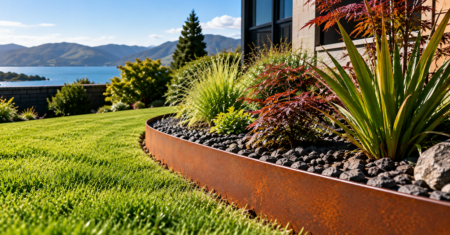
6. Weathered Steel With Ornamental Grasses
Rust-toned steel can complement grasses and textured planting, particularly in contemporary landscapes. Consider possible runoff staining before installation.
7. A Simple Spade-Cut Edge
For informal lawns, a carefully cut border may provide all the definition needed without adding manufactured materials.
Looking for more inspiration? See our separate collection of 15 Garden Edging Ideas for NZ Gardens.
How to Install Garden Edging
Installation varies by material and product. The steps below provide an overview rather than replacing the manufacturer’s instructions.
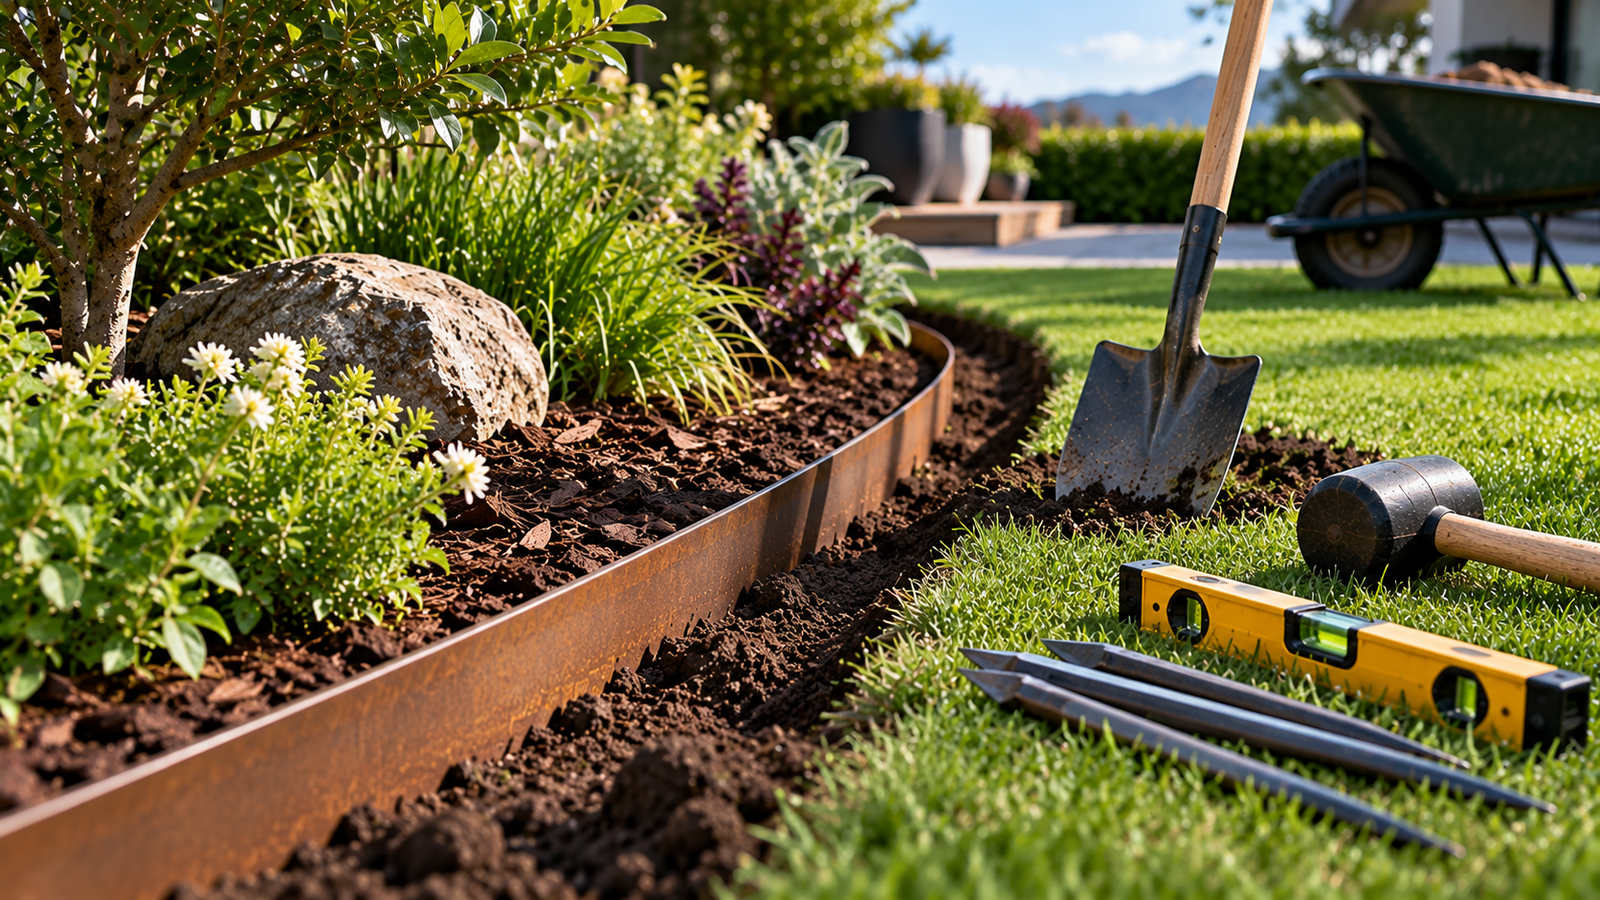
- Plan the boundary. Use string for straight runs or a hose to test curves.
- Measure the length. Allow for joins, cuts and suitable wastage.
- Check the area. Identify underground services and other hazards before digging or driving stakes.
- Prepare the ground. Remove unwanted turf, roots and debris.
- Set the edging height. Consider mowing access, drainage and what the border needs to contain.
- Install the specified fixings. Use the stakes, connectors or base recommended for the chosen system.
- Backfill and finish. Check alignment before compacting the surrounding soil.
Bunnings NZ provides a useful general overview of garden edging installation.
For material-specific methods, read our step-by-step guide to installing garden edging.
Garden Edging for New Zealand Conditions
Wet and Poorly Drained Gardens
Persistent moisture can shorten the life of unsuitable timber and contribute to movement or instability around some edging systems. Address drainage problems rather than expecting the edging to solve them.
Coastal Properties
Salt exposure can affect metal finishes and fixings. Check whether the exact product is recommended for coastal use, and select compatible fasteners.
Sloping Gardens
A sloping border may need stepped sections, different fixing arrangements or a design that follows the natural ground level.
If the edge needs to retain a meaningful depth of soil, treat it as a retaining or raised-bed structure rather than decorative edging.
Areas With Aggressive Lawn Growth
Some grasses spread through runners and can cross shallow borders. A properly installed physical barrier can help, but ongoing inspection and trimming may still be necessary.
Common Garden Edging Mistakes to Avoid
Choosing the Material Before Defining the Job
A thin decorative strip may separate lawn from mulch but may not be suitable for retaining gravel or raised soil.
Ignoring Ground-Contact Requirements
Not every exterior timber product is appropriate for permanent soil contact. Check treatment and intended use.
Installing the Border Too High
An unnecessarily raised edge can make mowing harder and create a tripping hazard.
Using Too Few Stakes
Insufficient anchoring may allow flexible edging to lift or drift. Follow the spacing recommended for the actual product.
Making Curves Too Tight
Very tight bends can be difficult to form and maintain. Check the manufacturer’s minimum bending radius.
Forgetting About Future Plant Growth
Allow sufficient room for shrubs, roots and mature planting rather than designing only around the garden’s current appearance.
Frequently Asked Questions
What is the best garden edging in New Zealand?
For straight beds, suitable H4-treated timber is a practical option. Steel works well for contemporary landscapes and curves, while flexible plastic suits many simple DIY projects. The right choice depends on the application.
What is the cheapest way to edge a garden?
A spade-cut lawn edge usually has the lowest material cost, although it requires regular maintenance. For a physical border, compare basic timber and flexible edging systems using their complete installed cost.
Is steel or timber garden edging better?
Timber is often easier to work with for straight natural-looking beds. Steel offers a thinner visual profile and can be particularly effective for smooth curves. Product quality and exposure conditions matter for both.
Can I use H3.2 timber for garden edging?
H3.2 is generally associated with exterior above-ground applications. For timber in direct ground contact, look for a product specifically rated and intended for that exposure, commonly H4-treated timber in NZ.
How deep should garden edging be installed?
There is no universal depth. It depends on the edging profile, intended function and fixing system. Follow the manufacturer’s installation instructions.
What edging works best for curved garden beds?
Flexible steel, plastic or composite systems are often convenient for smooth curves. The minimum bend radius and anchoring requirements depend on the product.
Does garden edging stop weeds?
Edging can reduce grass encroachment across a boundary, but it will not stop all weeds or seeds spreading into a garden bed.
Can garden edging hold back soil?
Some edging products can contain shallow soil or mulch, but retaining a substantial soil depth creates different structural demands. Use a suitably designed raised-bed or retaining system when necessary.
Root & Yard Verdict
Choose garden edging for its function first and its appearance second.
For straightforward garden beds, appropriately specified timber is a sensible starting point. For thin modern lines and sweeping curves, steel offers a distinctive finish. Flexible edging is useful for simpler DIY curves, while masonry makes sense where permanence is the priority.
Before buying, measure the entire border, calculate the full installed cost and confirm the product is suitable for your site’s moisture, exposure and intended use.
A good garden edge should make the garden easier to maintain, not create another job.
0 Comments