
Timber garden edging is one of the simplest ways to give a New Zealand garden a cleaner, more finished look. It works especially well around lawns, paths, planting beds and vegetable gardens, and it can be installed without specialist landscaping equipment.
The important part is choosing timber that suits the job. In New Zealand, edging that sits in direct contact with soil is commonly specified at H4 treatment level, while above-ground exterior timber is generally associated with lower hazard classes such as H3.2. For a garden border that will remain in the ground, the treatment rating matters just as much as appearance.
In this guide
If you are still deciding between timber, steel, plastic, stone or concrete, start with our broader guide to garden edging in New Zealand. This article goes deeper into timber specifically.
Why timber garden edging works well in New Zealand
Timber fits naturally into many Kiwi gardens. It is visually softer than steel or concrete, easy to cut, easy to fasten and well suited to both DIY landscaping and more formal garden layouts.
- Creates a defined line between lawn and planting areas.
- Helps keep mulch, bark and soil inside garden beds.
- Can be cut to suit short runs, corners and stepped sections.
- Works with contemporary, cottage and native-inspired garden styles.
- Can be replaced section by section if one part eventually deteriorates.
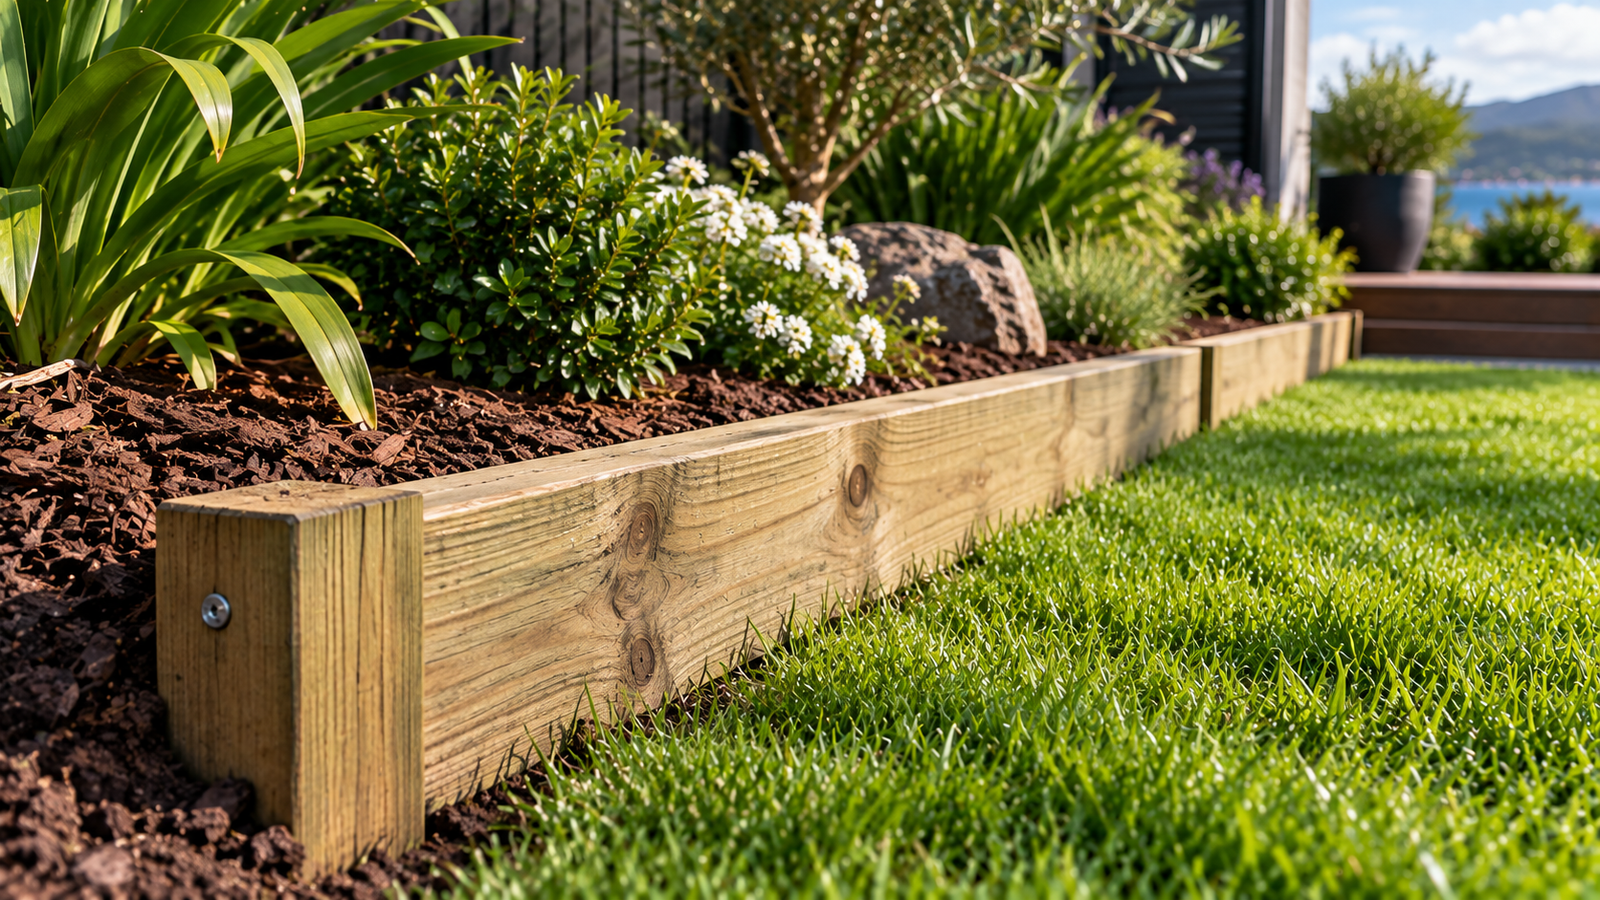
H4 vs H3.2: which timber treatment do you need?
New Zealand timber treatment hazard classes describe the type of exposure timber is intended to withstand. For garden edging, the key distinction is whether the timber will sit directly in or against the ground.
| Treatment | Typical exposure | Good fit for garden edging? |
|---|---|---|
| H3.2 | Exterior, above-ground situations exposed to weather | Not the first choice for timber buried in or continuously contacting soil |
| H4 | Ground contact and higher-decay situations | Yes — commonly suited to edging, posts and other ground-contact landscaping uses |
Best timber options for garden edging
H4 treated pine
Usually the most practical option for straightforward lawn and garden-bed edging. It is easy to source, comparatively affordable and available in many landscaping dimensions.
Macrocarpa
Popular when a more natural timber appearance is wanted. Product durability varies, so check whether the specific timber is suitable for the intended ground-contact use.
Hardwood
Can provide a premium appearance and good durability, but cost and availability may make it unnecessary for ordinary edging jobs.
Sleepers
Better suited to substantial borders, steps or low retaining-style edges than to a subtle lawn line. Their extra mass also means more digging and handling.
What should you choose?
For a simple DIY border between lawn and a mulched bed, H4-treated pine is usually the easiest starting point. For a feature garden where the timber itself is part of the visual design, macrocarpa or another naturally attractive timber may justify the extra cost.
What timber size works for edging?
There is no single correct dimension. Narrower boards create a subtle lawn edge, while deeper boards are useful where you need to hold back mulch or create a more noticeable change in level.
Choose the size based on how much of the board needs to remain below ground, how much should be visible above the lawn, and whether the edging is purely decorative or doing light retaining work.
Straight borders vs curved garden beds
Timber is naturally better suited to straight lines and gentle changes of direction. Tight curves require either short segmented pieces, thinner flexible timber, kerfing or a different edging material.
If your landscape design relies on sweeping curves, steel or flexible edging can produce a cleaner continuous line. Timber works best when the garden geometry is straight, angular or only mildly curved.
How to install timber garden edging
The basic installation method is straightforward. New Zealand DIY guidance from Bunnings and Resene follows the same general pattern: mark the line, form a narrow trench, place the timber, secure it with pegs or stakes, level the run and backfill.
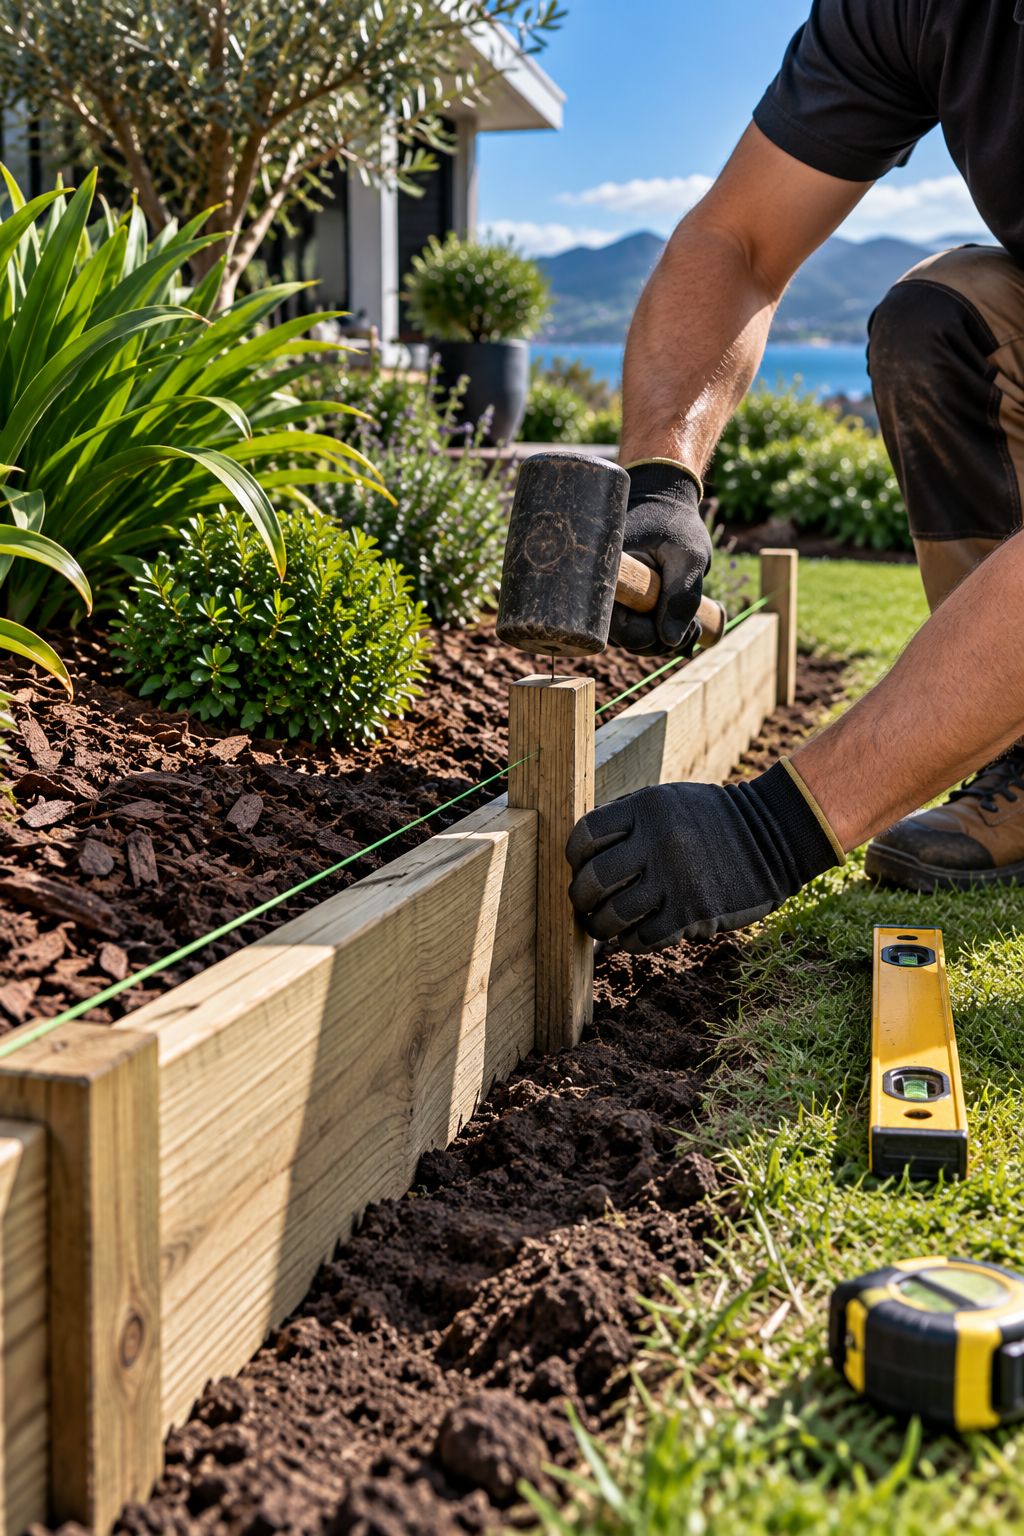
- Mark the edge. Use a string line for straight sections or a garden hose to visualise a softer curve before digging.
- Measure the run. Work out the total length and allow a little extra for joins, cuts and mistakes.
- Dig a narrow trench. The trench only needs to be wide enough for the board and deep enough to hold the desired portion below finished ground level.
- Position the timber. Place the boards into the trench and check the top line from several angles.
- Add pegs or stakes. Secure the boards so soil movement, lawn pressure and everyday knocks do not push the edging out of alignment.
- Check level and alignment. Adjust before final fixing. Long runs can look uneven even when individual pieces seem level.
- Fix the boards. Use exterior-grade fixings suitable for treated timber and the intended outdoor exposure.
- Backfill and compact. Return soil firmly around the edging, then restore mulch, gravel or lawn edges as required.
How deep should timber edging go?
The right depth depends on the job. Lawn edging often needs only enough burial to stop the board shifting and to keep the visible top at a practical mowing height. A border holding back mulch or a slightly raised bed may need more depth.
Resene’s garden-edging project uses a relatively shallow trench, while other edging systems may sit substantially deeper. Rather than copying one number for every garden, set the depth according to the board size, soil stability and final height you want.
How far apart should the pegs be?
Peg spacing depends on timber thickness, soil conditions and whether the run is straight. Local DIY examples vary: Bunnings suggests roughly one-metre spacing in one edging project, while Resene shows wider spacing in its timber edging guide. Use closer supports around joins, corners, curves or places where the timber wants to move.
Using timber edging around lawns
Timber edging works particularly well when its top is kept close to the finished lawn level. This creates a clean mowing line and reduces the chance of a tall board becoming an obstacle around the edge.
Avoid leaving large gaps between the timber and turf. Soil settlement beside the board can create dips that collect water or make trimming more difficult.
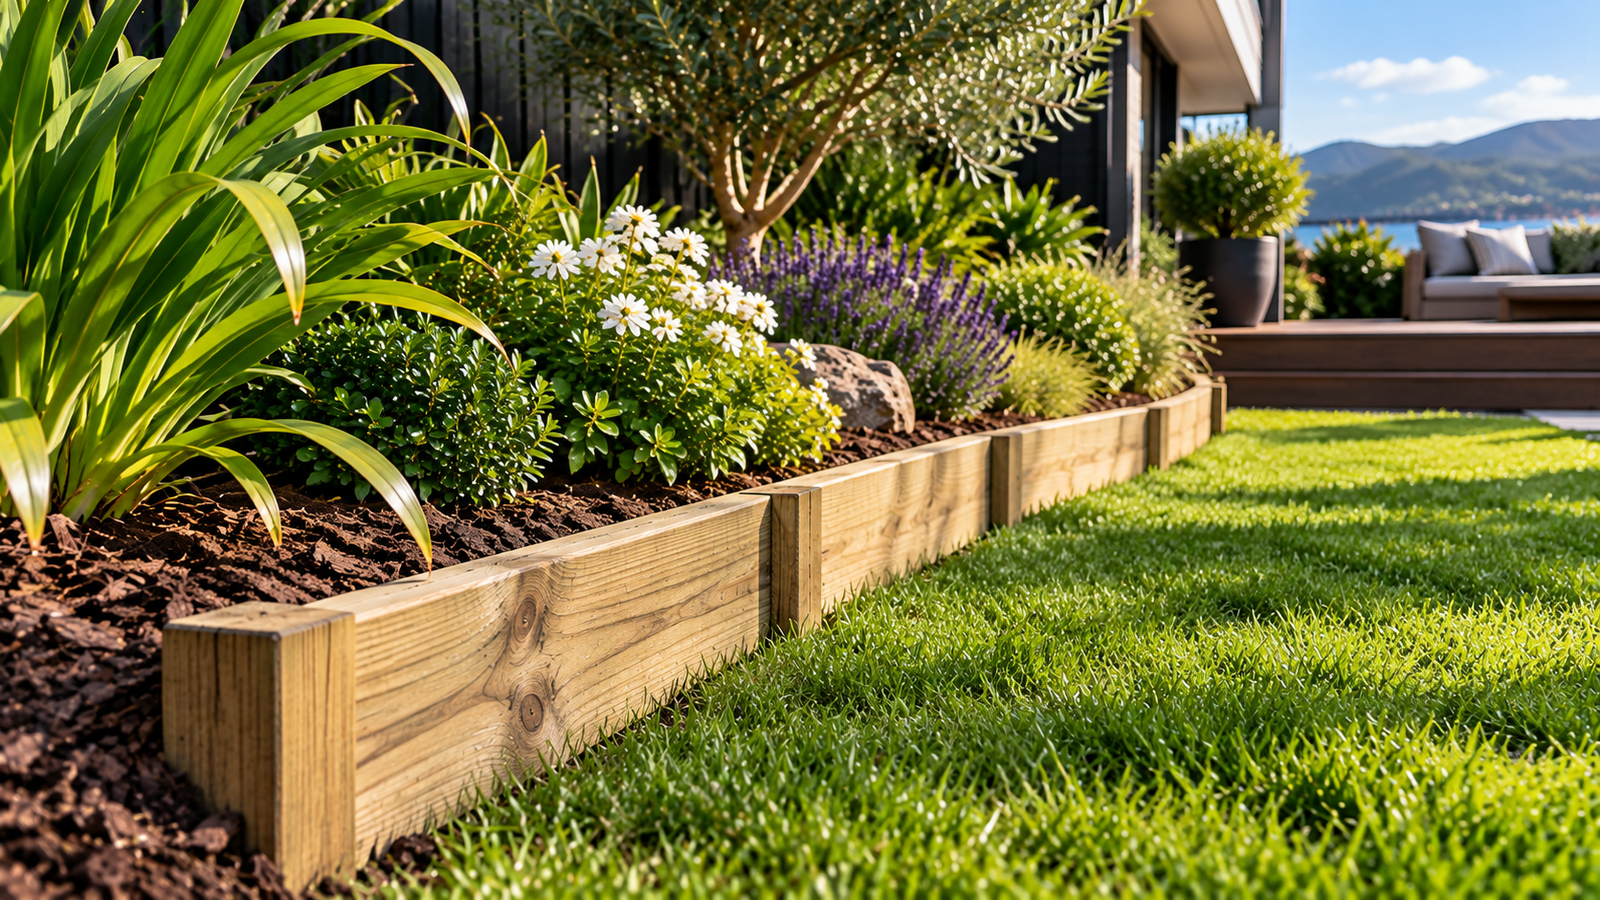
Can treated timber be used around vegetable gardens?
This deserves a little more care than ordinary ornamental edging. Some H4 landscaping timber sold in New Zealand uses preservative systems that retailers provide specific handling or garden-use guidance for.
For example, Bunnings NZ notes precautions on some H4 treated retaining timber used around vegetable gardens and suggests creating a barrier between treated timber and garden soil for that application. Naturally durable untreated options such as macrocarpa are also commonly considered where gardeners prefer to avoid treated timber beside edible crops.
How long does timber garden edging last?
There is no honest single lifespan number for all timber edging. Service life changes with treatment, timber species, drainage, soil type, moisture, workmanship and whether the board is constantly wet.
Correctly specified ground-contact timber should outlast untreated softwood used in the same conditions, but even durable materials benefit from good drainage and sensible installation.
Maintenance
- Keep soil and mulch from building excessively above the intended level.
- Check joins and stakes after heavy rain or soil movement.
- Replace loose or corroded fixings when required.
- Trim grass away from the edge rather than repeatedly damaging the timber with powered equipment.
- If appearance matters, use an exterior finish compatible with the timber treatment and intended use.
Common timber edging mistakes
Using the wrong treatment class
Above-ground timber is not automatically suitable for long-term soil contact.
Too few stakes
Long unsupported runs can bow, twist or move as the surrounding ground settles.
Ignoring drainage
Persistently wet conditions accelerate deterioration and can destabilise the edge.
Trying to force tight curves
Standard timber boards are not ideal for every curved design. Choose another system when the geometry demands it.
Timber vs steel garden edging
| Feature | Timber | Steel |
|---|---|---|
| Look | Warm, natural and visible | Minimal, crisp and often discreet |
| DIY cutting | Easy with common tools | Depends on system and metal type |
| Curves | Best for straight or gentle shapes | Excellent for smooth curves |
| Ground-contact concern | Treatment/species selection is important | Corrosion resistance and coating/type matter |
| Visual weight | More substantial | Can be almost invisible |
Timber is the better fit when you want the border itself to contribute to the garden’s character. Steel is usually better when you want a thin, highly controlled edge or sweeping curved lines.
Root & Yard verdict
For most straightforward Kiwi garden borders, H4-treated pine is the sensible timber starting point: practical, accessible and appropriate for the ground-contact conditions typical of edging.
Choose timber because you genuinely want its warm, natural appearance. If your priority is very tight curves or an almost invisible border, steel may be the stronger design choice.
Frequently asked questions
What timber should I use for garden edging in NZ?
For timber that will be in direct contact with soil, H4-treated pine is a common practical option in New Zealand. Other species can also work, but check the specific product’s intended use and durability.
Is H3.2 timber suitable for garden edging?
H3.2 is generally associated with exterior above-ground exposure. For edging that is installed in direct ground contact, H4 is the more relevant New Zealand hazard class.
Can I use macrocarpa for garden edging?
Macrocarpa is often used for outdoor landscaping because of its appearance and natural durability, but suitability varies by product and exposure. Check the supplier’s specification for ground-contact use.
Should timber edging sit above the lawn?
It can, but keeping the top close to lawn level usually makes mowing and trimming easier. Raised borders may deliberately sit higher where they need to retain mulch or soil.
How do I keep timber garden edging straight?
Use a taut string line, secure the boards with adequately spaced stakes and check the run with a spirit level before backfilling.
0 Comentários