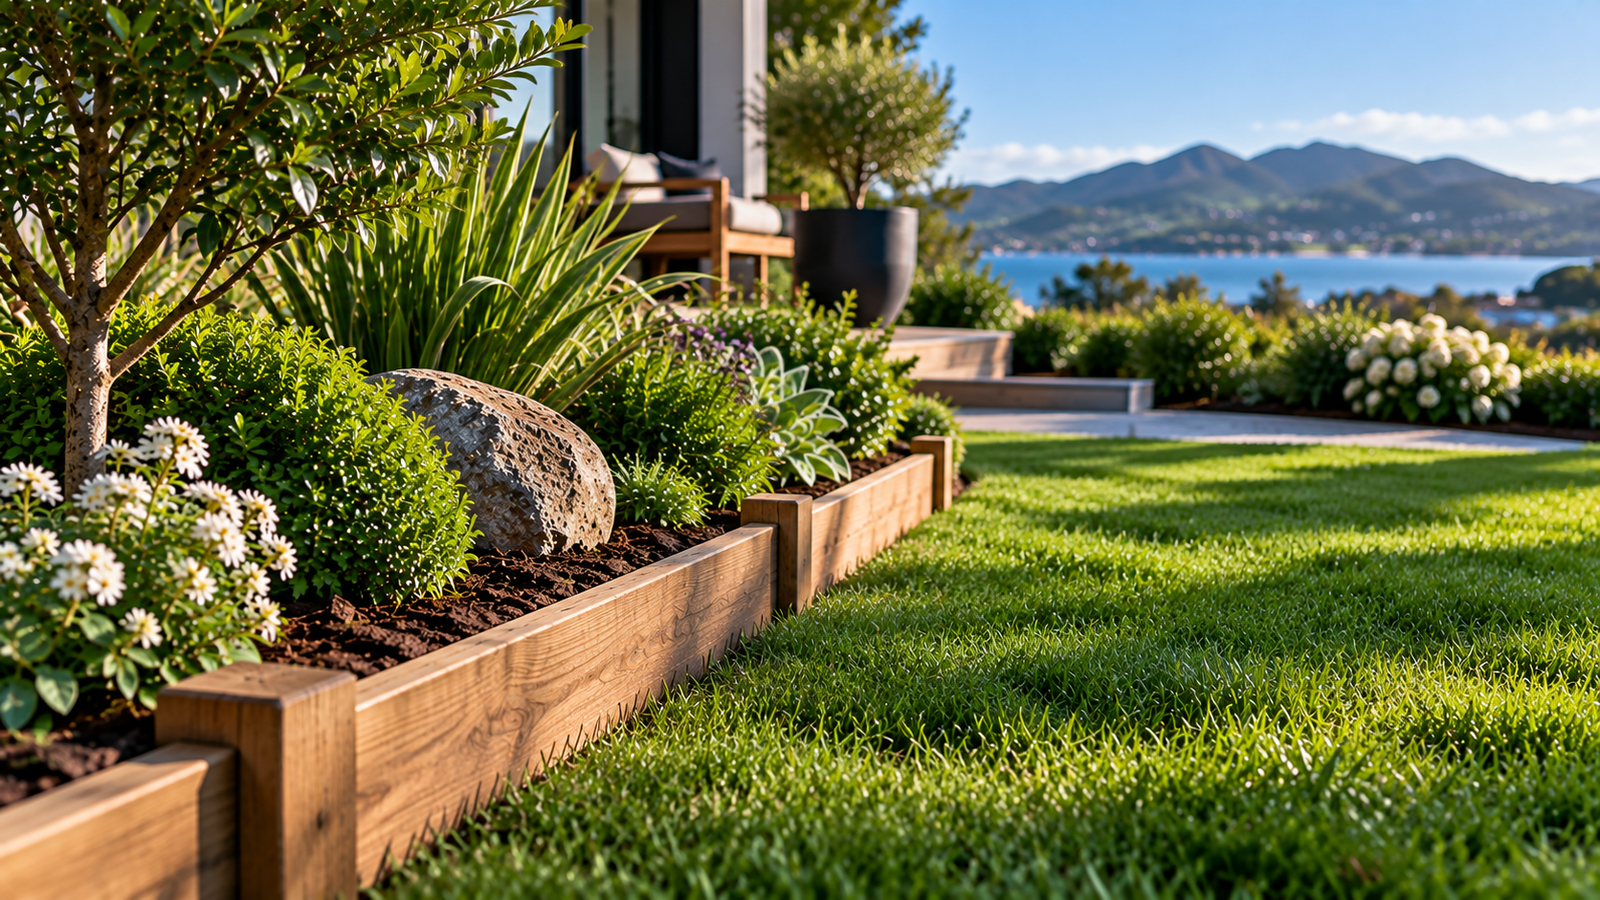
A practical guide to choosing garden edging that looks good, keeps lawns under control and suits the way Kiwi gardens are actually built and maintained.
A neat garden edge can make an ordinary backyard look surprisingly finished. But edging is not only decorative. A well-defined border can separate lawn from garden beds, contain mulch or decorative aggregate, define paths and reduce the amount of grass creeping into planted areas.
In New Zealand, there is no single material that is best for every property. Timber suits natural and productive gardens, steel creates a thin contemporary line, flexible systems make curves easier, while brick, stone and concrete create more substantial permanent borders. The right choice depends on where the edging will sit, what it needs to contain, the look you want and how much maintenance you are willing to do.
What is garden edging — and what does it actually do?
Garden edging is a physical boundary between two parts of the landscape. The classic example is the line between lawn and a planted bed, but edging can also separate lawn from gravel, mulch from paving, vegetable beds from paths, or decorative aggregate from planting.
Without a defined boundary, materials gradually migrate. Lawn grass pushes into beds, mulch spills onto paths and gravel spreads into surrounding soil. A border helps keep those zones visually and physically separate.
Bunnings New Zealand also notes that garden edging can help keep lawn grass out of flower beds and vegetable patches and can make the garden easier to keep neat. For most home gardens, that everyday maintenance benefit matters more than edging as decoration.
Explore more planning and landscaping content in Garden Design.
Is garden edging worth installing?
Usually, yes — but a manufactured border is not compulsory. A carefully maintained spade-cut lawn edge can look excellent and costs almost nothing in materials. The trade-off is that it has to be recut as grass roots and runners cross the boundary.
Physical edging becomes more useful when you want to reduce lawn encroachment, contain loose material, create a cleaner mowing line, define a path or introduce stronger structure to the landscape.
Garden edging materials in New Zealand compared
| Material | Best for | Curves | Maintenance | Relative cost |
|---|---|---|---|---|
| Treated timber | Natural gardens, straight beds, vegetable areas | Limited | Medium | $–$$ |
| Steel | Modern landscapes, crisp lines, sweeping curves | Excellent | Low | $$–$$$ |
| Plastic/composite | Curved beds, lightweight DIY installations | Excellent | Low–Medium | $–$$ |
| Concrete | Permanent, substantial borders | Limited | Low | $$–$$$ |
| Brick/pavers | Traditional gardens, paths, mowing strips | Moderate | Low–Medium | $$ |
| Natural stone | Feature gardens and organic landscapes | Moderate | Low | $$–$$$$ |
| Spade-cut edge | Informal lawns and low-budget gardens | Excellent | High | $ |
The price bands above are deliberately relative rather than retail quotes. Dimensions, finish, freight, brand and installation method can change the real project cost substantially.
Timber garden edging in NZ
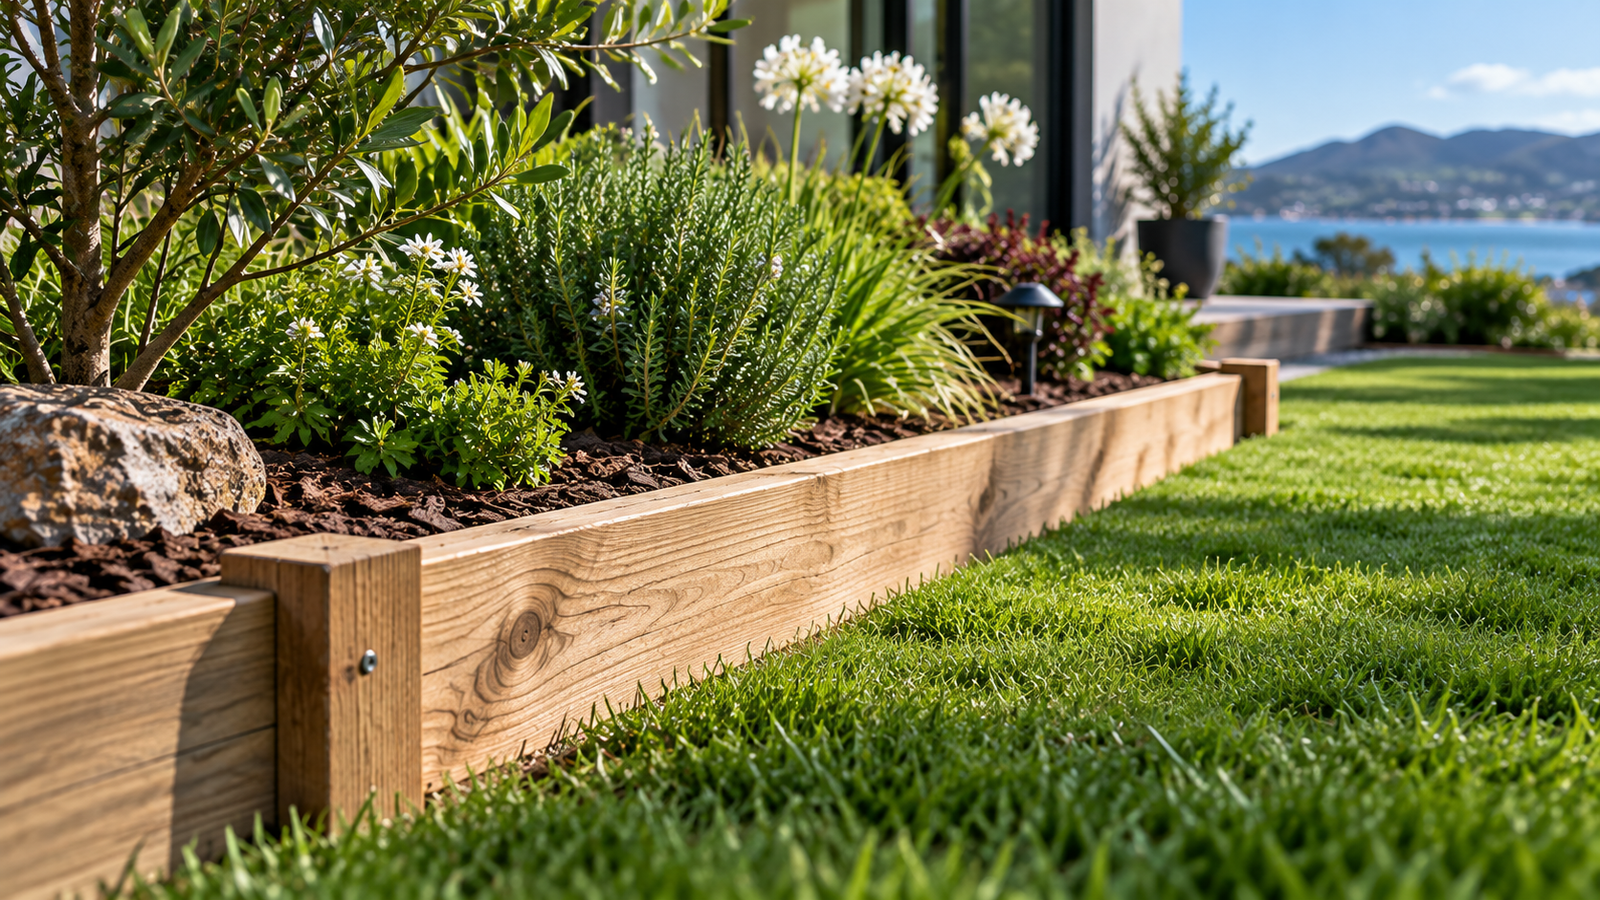
Timber looks at home in a New Zealand garden. It works especially well around vegetable beds, native planting, informal borders and properties where a natural finish suits the house better than a thin architectural metal line.
It is also approachable for DIY work. Straight sections are easy to measure and cut, and the edging can be fixed to timber pegs to form a strong, simple border.
The NZ detail that matters: treatment class
Timber in direct contact with soil is exposed to persistent moisture and decay risk. The New Zealand Timber Preservation Council describes H4 as a treatment class intended for timber in direct ground contact or fresh water, and specifically lists garden edging among common H4 applications.
This distinction matters because H3.2 timber is generally associated with exterior above-ground applications, while H4 is intended for the more demanding ground-contact environment.
Timber also integrates naturally with bark mulch, productive gardens, gravel, sleepers and other timber landscape structures. Its main limitation is geometry: it is excellent for straight lines and broad segmented shapes but not the easiest material for tight, fluid curves.
Planning productive beds too? Browse our Grow guides.
Steel garden edging in NZ
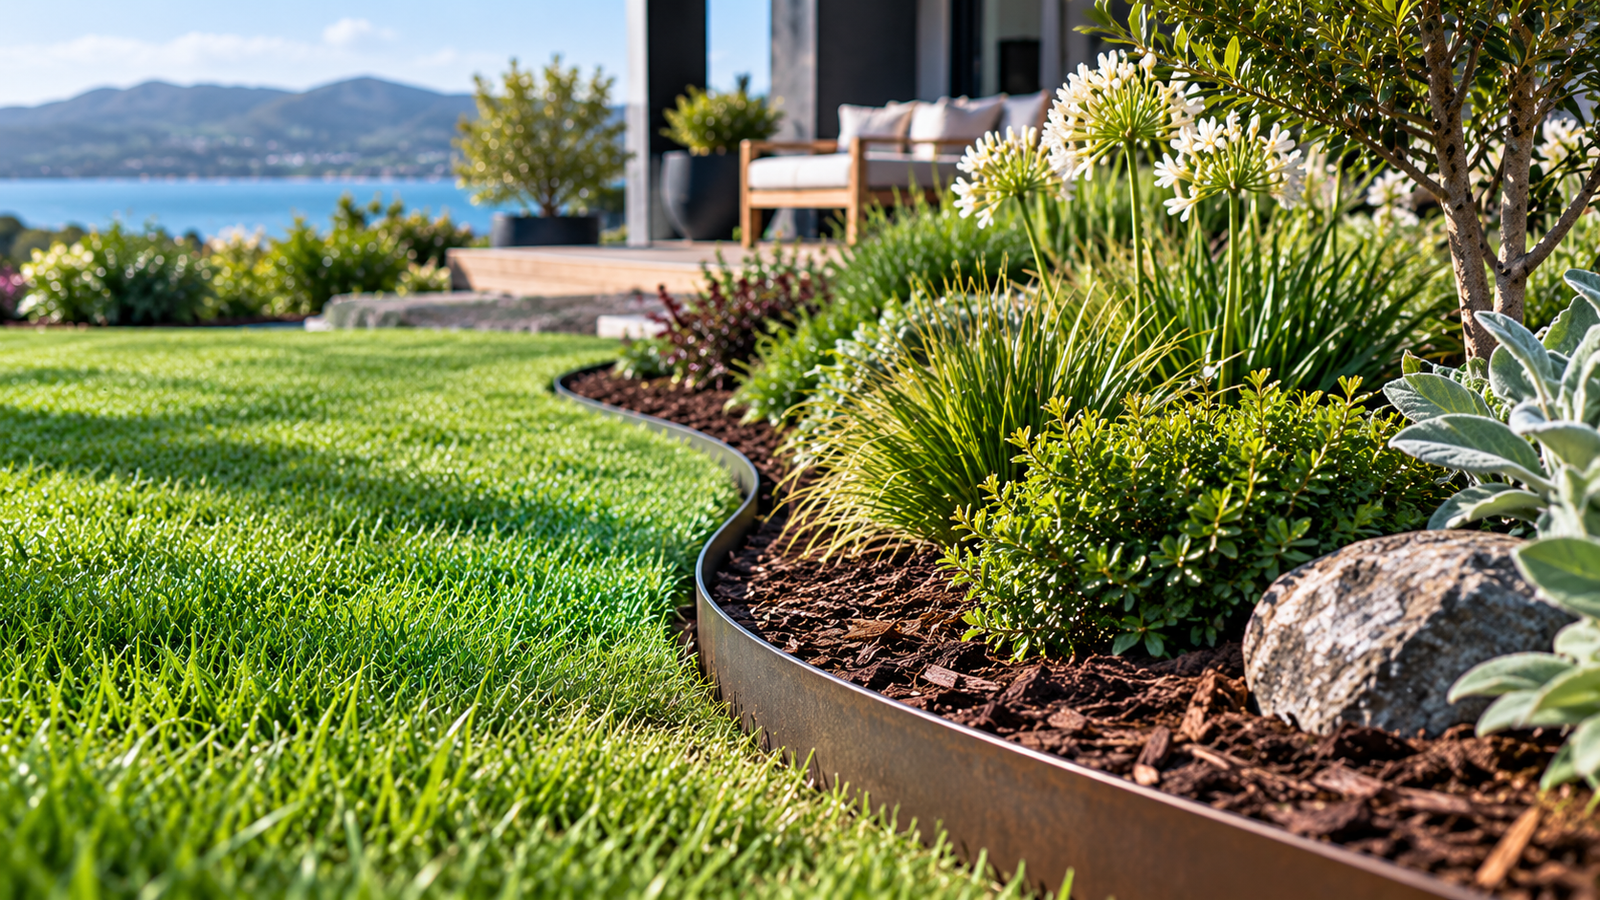
Steel creates a very different look. Instead of becoming a decorative feature itself, thin steel edging can almost disappear into the landscape, leaving a crisp line between lawn, gravel and planting.
That makes it particularly well suited to contemporary gardens. It can create sharp straight runs but, depending on the system, can also form smooth sweeping curves that are difficult to achieve with rigid timber.
Galvanised, coated or weathered?
Steel edging is sold in different finishes. Galvanised products use a zinc coating for corrosion protection; coated products offer a darker architectural appearance; and weathering-style finishes intentionally develop a rust-coloured patina.
The exact product specification matters, especially in exposed or coastal locations. Not every steel product has the same coating, thickness, fastening system or environmental suitability, so check the manufacturer’s guidance rather than assuming all “metal edging” performs identically.
Plastic and composite garden edging
Plastic edging is sometimes dismissed as the cheap option, but flexible systems can be genuinely useful when the garden shape is the priority. Curved beds, circular tree borders and flowing landscape lines are much easier to create with a material designed to bend.
Bunnings NZ’s installation guidance similarly treats flexible plastic or rubber edging differently from rigid materials: it is generally unrolled along the prepared edge and then secured in place.
The weakness is that quality varies. Thin products can lift, move or lose their line if they are poorly anchored. When comparing systems, look beyond the purchase price and check the profile, rigidity, anchoring method and intended outdoor use.
Concrete, brick, pavers and natural stone
Concrete is useful when permanence matters more than flexibility. It can form a substantial barrier around formal beds, paths or aggregate areas and generally needs little routine maintenance once correctly installed.
Its disadvantage is exactly the same thing: permanence. Moving a bed later is far harder when the border is concreted in place.
Brick and pavers offer a more traditional alternative and can double as a mowing strip. Natural stone gives a looser, more organic appearance. In both cases, the quality of the result depends heavily on base preparation and levels rather than simply the material itself.
Which garden edging is best for your garden?
Garden edging ideas for New Zealand homes
1. A crisp lawn-to-garden border
Keep the border relatively discreet and let the planting remain the focus. Thin steel or a restrained timber edge works well when the main objective is separating turf from soil and mulch.
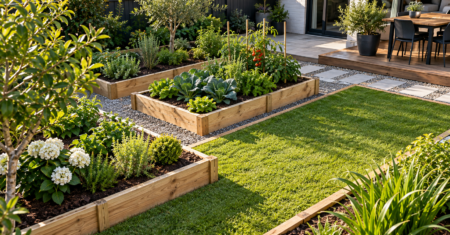
2. Timber around vegetable beds
Straight treated timber creates a clear division between productive beds and walking paths. It also visually connects well with compost bays, raised beds and other practical garden structures.
3. Curved borders around native planting
Broad flowing curves can soften a lawn and work beautifully around native planting. Flexible steel or composite edging usually creates a smoother result than forcing rigid timber into a series of short angles.
For future planting inspiration, visit Plants.
4. Hidden edging along a gravel path
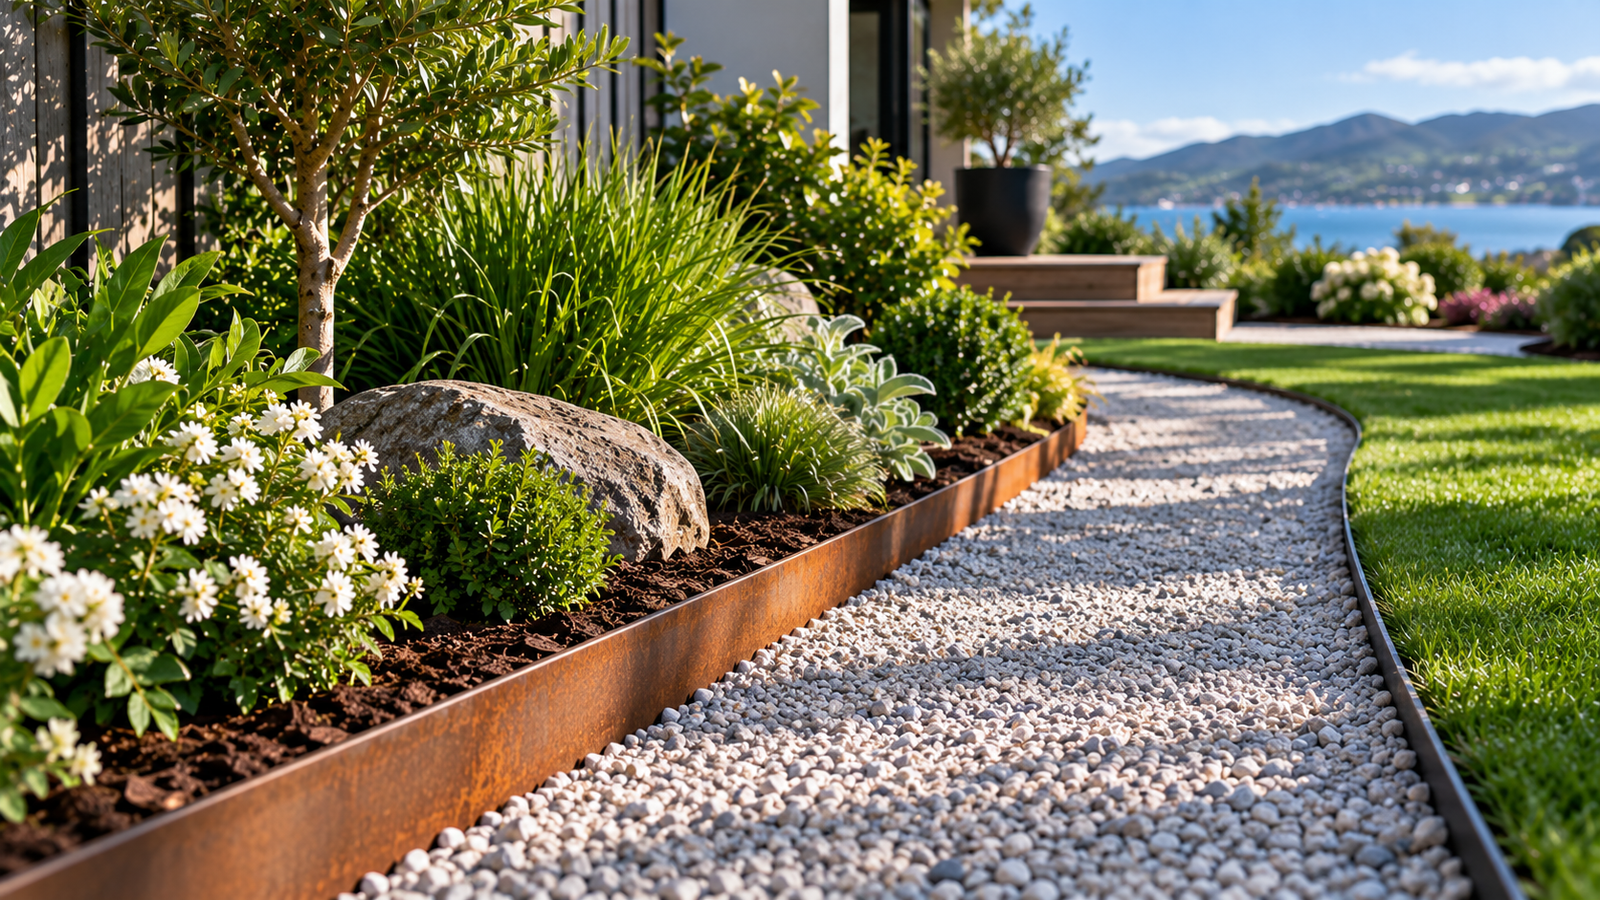
In this application, the edging is doing a job rather than asking for attention. A narrow border contains gravel and preserves the line of the path while remaining visually quiet.
5. Raised timber borders
If the soil level is significantly higher than the surrounding lawn, the project is moving beyond simple edging and toward a raised bed or retaining structure. The material then has to resist lateral soil pressure rather than simply create separation.
See more practical builds in Projects & DIY.
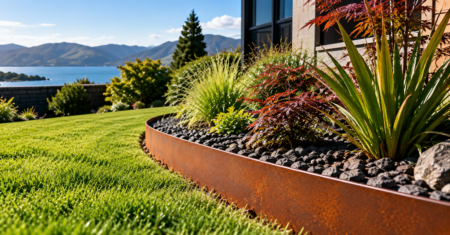
6. Weathered steel with ornamental grasses
A rust-toned finish paired with grasses and native foliage can create a distinctly modern landscape while keeping the actual border thin.
7. Brick edging for cottage-style beds
Brick can suit informal flowering gardens and older homes where a hidden modern metal line might feel out of character.
How to install garden edging
The manufacturer’s instructions always take priority because installation varies by system. But most projects follow the same broad sequence.
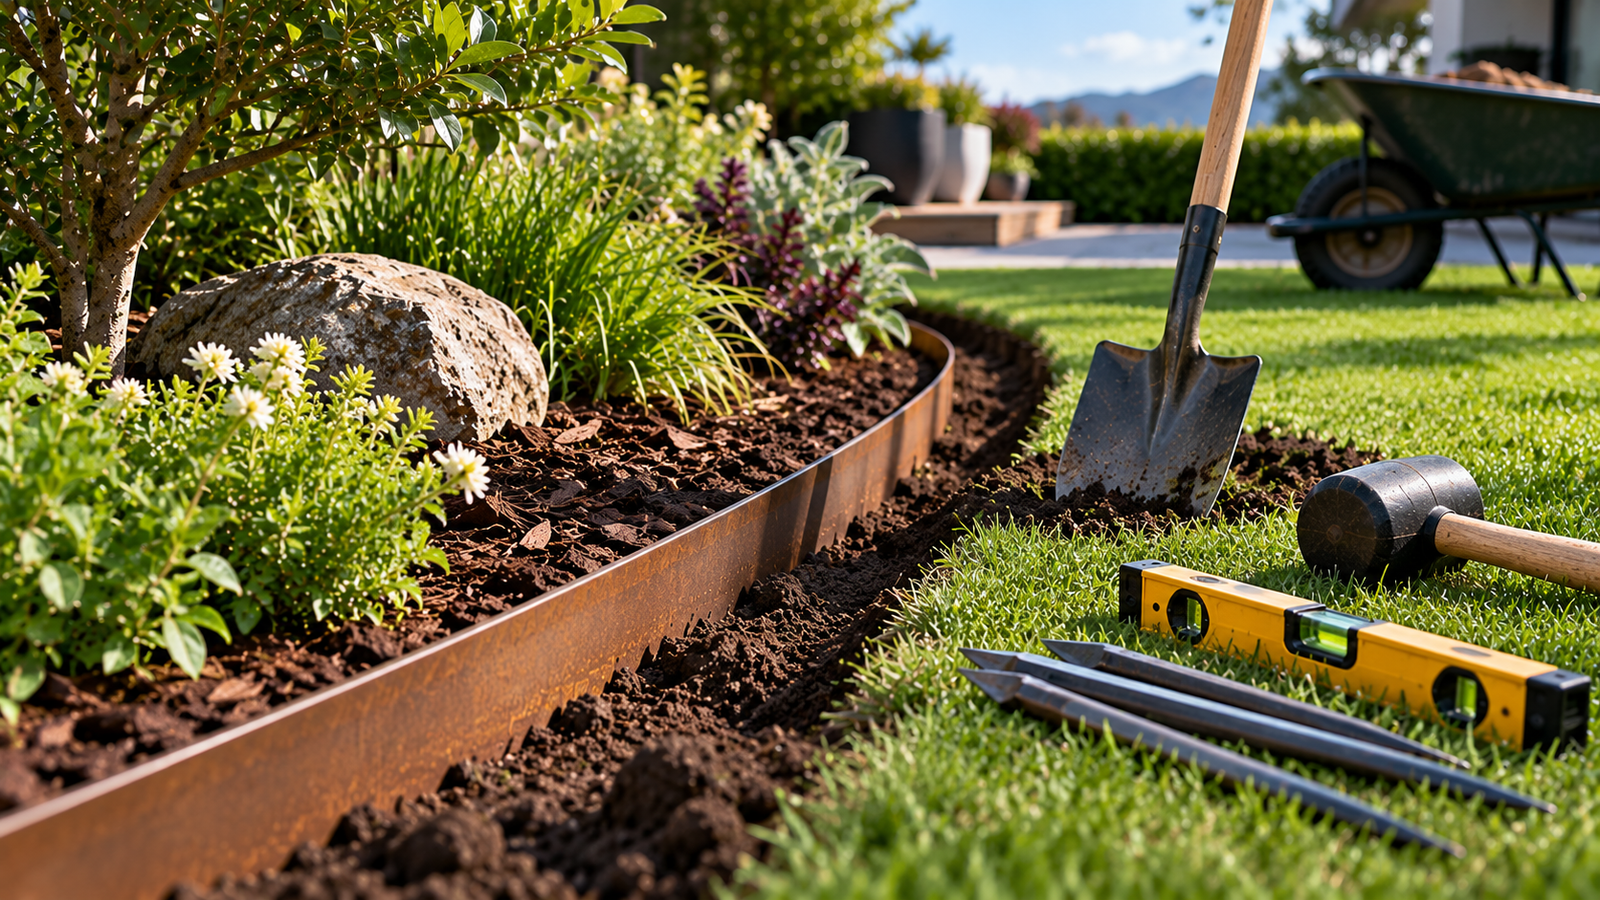
Step 1: Mark the line
Use builder’s line or string for a straight run. For curves, lay a garden hose or rope on the ground first and adjust it until the shape looks natural.
Step 2: Measure the full route
For curved borders, twine laid along the intended line can be easier to measure than trying to approximate the curve with a rigid tape. Bunnings NZ recommends allowing an additional 10% when calculating edging requirements to cover contingencies.
Step 3: Dig a narrow trench
Dig along the marked line, keeping the trench only as wide and deep as the chosen system requires. Bunnings advises setting some edging roughly halfway into the trench, while a Resene timber edging project uses a trench around 50–100 mm deep. Treat those as examples, not universal dimensions.
Step 4: Establish the height
Use a string line and spirit level where appropriate. On sloping ground, a consistent line that follows the site’s grade may look better than trying to force the edging perfectly horizontal.
Step 5: Secure it
Timber may be fixed to pegs; flexible products often use dedicated stakes; and steel systems can use proprietary connectors or spikes. Bunnings’ general guide recommends a peg roughly every metre and at joins for the type of system it demonstrates, while Resene’s timber example uses pegs at about 1.5 m intervals. Follow the spacing specified for your actual product.
Step 6: Backfill and compact
Once the line is correct, return soil to the trench and firm it enough to support the border without pulling the edging out of alignment.
Step 7: Finish the bed
Add mulch, gravel or planting only after the border is stable. This final layer hides much of the installation work and makes the edge read as part of the landscape rather than an isolated strip of material.
What works best for curved garden beds?
Curves are where poor edging choices become obvious. Avoid trying to mimic a smooth curve with lots of visibly straight short pieces unless the segmented look is deliberate.
For strong flowing curves, flexible steel, flexible composite/plastic, small pavers or a maintained spade-cut edge are usually easier options. Timber can still work on broad radii, but tight curves are not its strength.
Lawn edging vs raised garden borders
These are often treated as the same thing, but they solve different problems. Lawn edging creates separation. A raised border also retains soil or another material at a different level.
A thin flexible strip may be perfectly adequate for keeping turf out of a flower bed but completely unsuitable for holding back a significant depth of soil. Once the project needs to retain soil, treat it as a raised-bed or retaining problem and choose the construction accordingly.
Common garden edging mistakes to avoid
Installing the edge too high
An unnecessarily high border can interfere with mower wheels and make trimming harder. Set the finished height according to the job the edge actually needs to do.
Choosing appearance before function
Attractive timber is not useful if the product is unsuitable for persistent ground contact. Likewise, a very cheap flexible strip is poor value if it cannot maintain the intended line.
Under-anchoring the edging
Soil moves, especially after repeated wetting, drying and garden work. Inadequate fixing can allow sections to lean, lift or drift out of alignment.
Making curves too busy
A few broad, confident curves normally look more intentional than many small waves.
Ignoring future plant growth
Give shrubs, trees and spreading plants enough room to mature. A border that feels generous around a new plant can become cramped later.
Forgetting drainage
A substantial border can alter how surface water moves. Before installing a continuous barrier, consider whether it might trap water where you do not want it.
Buying exactly the measured length
Cuts, joins and measuring errors happen. A small contingency is much easier to deal with than finishing the job a few centimetres short.
How much maintenance does garden edging need?
Timber: inspect for movement, physical damage and deterioration, especially around joins and consistently damp areas. Decorative coatings may need maintenance according to their manufacturer’s instructions.
Steel: check alignment, fixings and any damaged coating. Follow the maker’s recommendations for the specific finish.
Plastic/composite: look for lifted sections, loose pegs or distortion after soil movement and heavy garden work.
Brick, stone and concrete: watch for settlement, movement and weeds in joints.
Natural lawn edges: expect to recut them. Their low material cost is offset by more regular maintenance.
Root & Yard verdict
For straight vegetable beds and natural garden areas, appropriately treated timber is hard to ignore. It is practical, visually warm and straightforward for many DIY projects.
For contemporary landscaping or broad flowing curves, steel is the stronger premium choice. For budget-conscious curved beds, a well-anchored flexible system can make more sense than forcing rigid material into the job.
And sometimes the best edge is the simplest one: a well-maintained cut lawn border can look excellent. The best garden edging is the one that solves the boundary problem without becoming the main thing you notice about the garden.
Frequently asked questions
What is the best garden edging in NZ?
There is no universal winner. Treated timber is a strong all-round choice for many straight garden borders, while steel suits modern landscaping and curves. Flexible edging is useful for irregular beds, and concrete or masonry suits more permanent boundaries.
What timber should I use for garden edging in New Zealand?
For timber in direct ground contact, check the hazard/treatment classification rather than assuming any exterior timber is suitable. The New Zealand Timber Preservation Council identifies H4 as intended for direct ground-contact situations and lists garden edging as a typical H4 application.
Is H3 timber enough for garden edging?
H3.2 is generally associated with exterior above-ground uses, while NZ timber guidance associates H4 with direct ground contact. For edging that will remain in soil, confirm the intended application with the timber supplier and use the appropriate treatment class for the project.
Is steel garden edging better than timber?
Not in every garden. Steel is slimmer and usually better for sweeping curves and contemporary designs. Timber has a warmer natural appearance and is convenient for straight DIY borders.
What is the cheapest way to edge a garden?
A manually cut lawn edge has almost no material cost, but it needs regular recutting. Low-cost flexible systems can also be economical, depending on the length and quality required.
How deep should garden edging be?
There is no single depth for every system. Profile height, material, ground conditions and purpose all matter. Follow the installation dimensions supplied with the product.
Will garden edging stop grass from spreading?
It can significantly reduce grass encroachment when correctly installed, but no edging makes a bed maintenance-free. Grass can still spread by seed, over the top of the border or through gaps and joins.
New Zealand Timber Preservation Council — Choosing the right timber
H3.2 and H4 hazard classes and common applications, including garden edging.
Bunnings New Zealand — How to install garden edging
General NZ installation workflow, materials, measuring, trenching and securing.
Resene — How to make timber garden edging
NZ timber edging project covering trench depth, pegs, levels and finishing.
0 Comentários