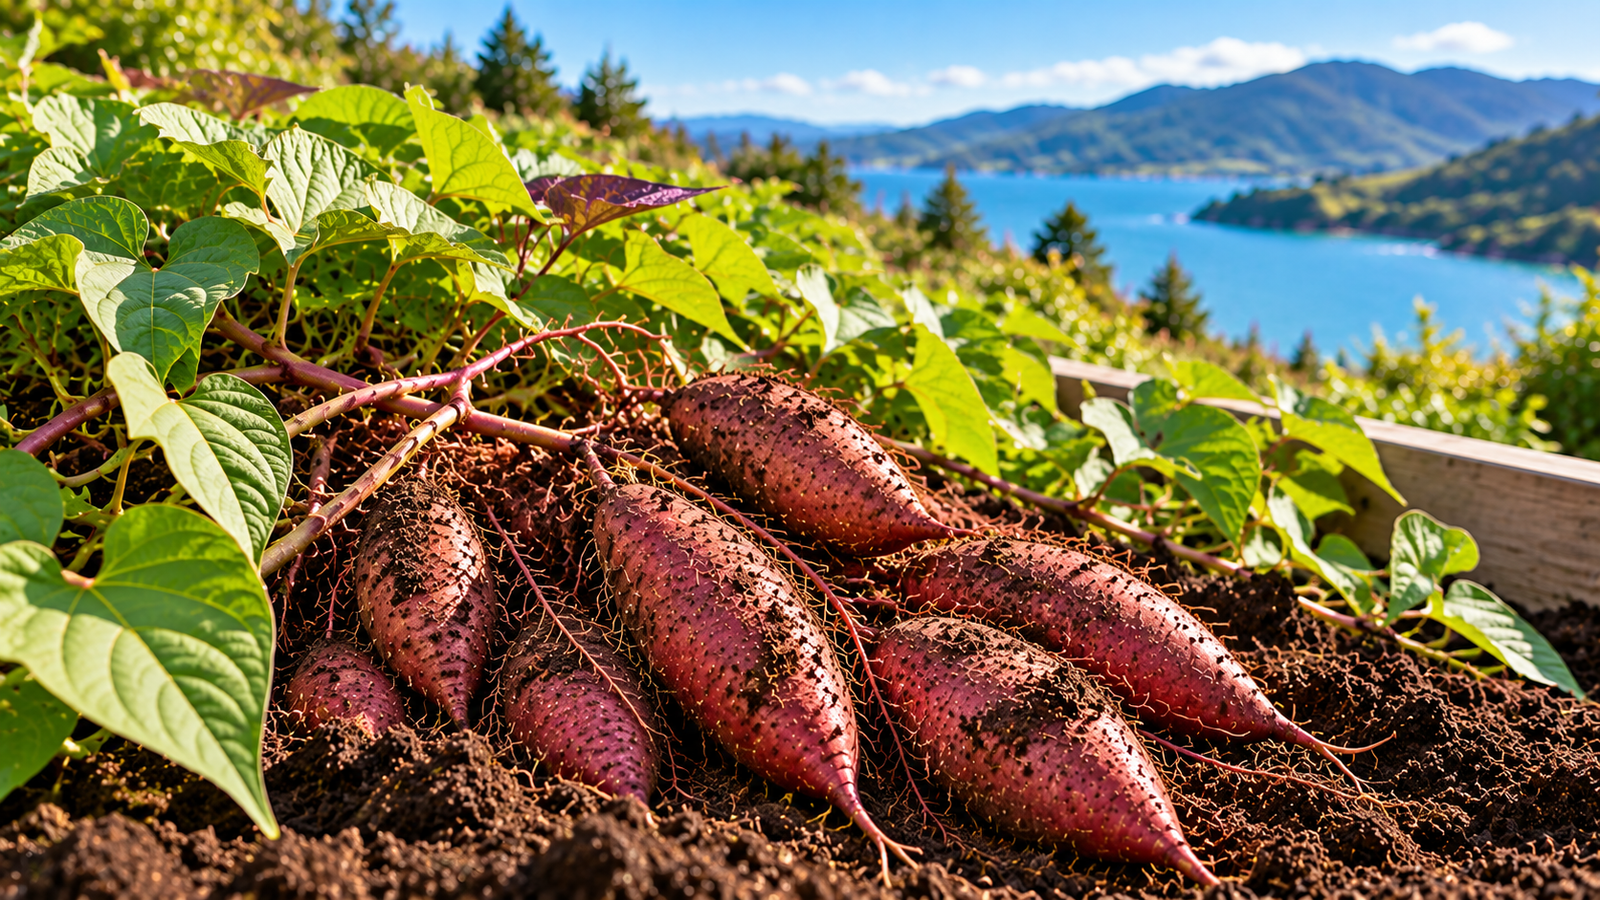
Root & Yard · Grow · New Zealand gardening
Growing kūmara in NZ is a rewarding way to fill your garden with a Kiwi favourite — but getting a good crop depends on warmth, timing and a little planning. Unlike ordinary potatoes, kūmara are usually grown from rooted shoots called slips or tipu, and they need a long, frost-free summer to develop their edible roots.
Start kūmara slips in a warm place, then plant them outside in spring or early summer after all risk of frost has passed. Choose a sunny site, form free-draining raised ridges, space slips generously and keep the soil evenly moist as plants establish. Allow approximately 120–150 days of warm growth, then harvest before damaging autumn frosts.
When to plant kūmara in NZ
The most important rule for growing kūmara in NZ is to wait for genuinely warm, frost-free conditions. Kūmara are tropical in origin and can struggle when planted into cold soil. A sunny October day is not enough if overnight frosts are still possible.
In warmer parts of the North Island, rooted slips are commonly planted during October or November. In cooler districts, November or early December may be more appropriate — provided there is still enough summer warmth ahead. A late start in a short-season garden can mean vigorous vines but disappointingly small roots.
Yates advises planning for roughly five months of growth in temperatures above about 17°C, while Tui gives a general harvest window of 120–150 days. Use these as guides rather than a guaranteed countdown: variety, sunlight, weather and soil all influence results.
Kūmara planting calendar by NZ region
| Region | Indicative outdoor planting | Key consideration |
|---|---|---|
| Northland and warm Auckland sites | October–November | Usually the most forgiving conditions; still check late frosts and soil warmth. |
| Bay of Plenty, Waikato and other mild North Island sites | October–November | Coastal and sheltered sites may warm sooner than inland gardens. |
| Lower North Island and sheltered upper South Island sites | November–early December, where suitable | Choose the warmest position and assess the length of the frost-free season. |
| Canterbury, Otago and colder inland locations | Only once frost-free and sufficiently warm | Outdoor cropping may be unreliable; a large movable container or protected growing space may help. |
Important: These are editorial planning windows, not official regional planting dates. Local frost patterns can vary significantly even within the same city. If your garden cannot provide a long, warm season, treat kūmara as an experiment rather than a dependable crop.
Which kūmara varieties grow in New Zealand?
New Zealand gardeners may encounter red-skinned, orange-fleshed and golden kūmara. Common names include Owairaka Red, Beauregard and Toka Toka Gold. Availability depends on suppliers and the season, so choose healthy slips or planting material from a reputable local source rather than assuming supermarket roots will always sprout successfully.
For a first attempt, the quality of your slips and the warmth of your site matter at least as much as the variety. Ask a local garden centre which type performs reliably in your area.
How to grow kūmara slips from a tuber
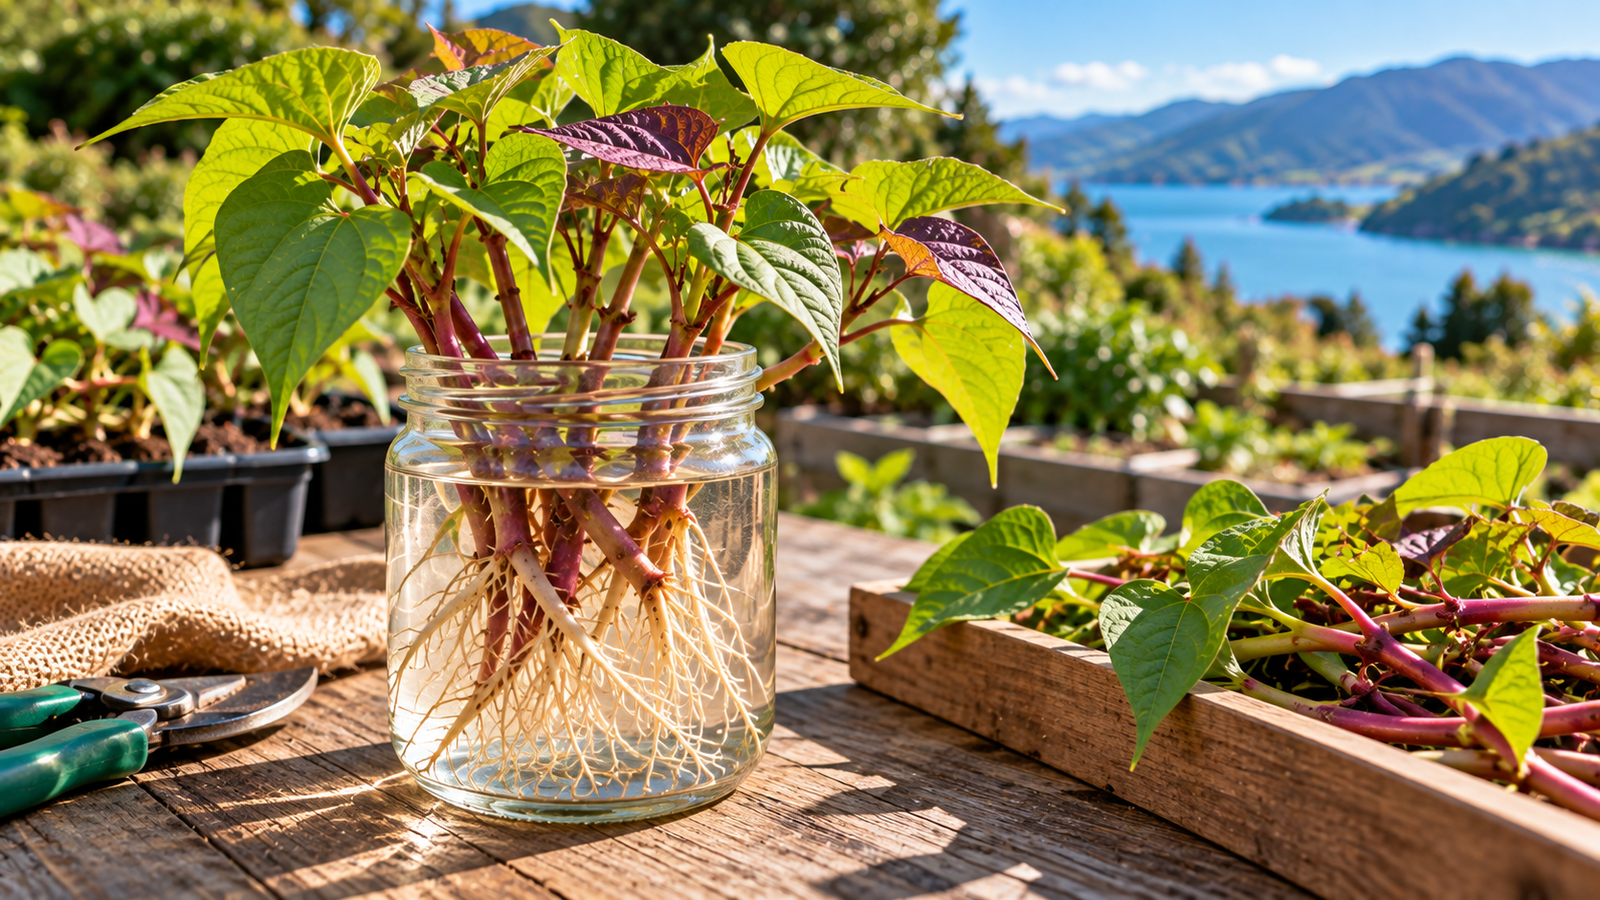
Kūmara slips are shoots that develop from a mature root. Starting your own is inexpensive, but it takes time and warmth. Begin indoors before your planned outdoor planting date.
- Choose a healthy kūmara. Look for a firm, undamaged root without signs of mould or rot.
- Encourage sprouting in warmth. Place the root in a warm, bright location using a moist sand or shallow-water method. Avoid leaving it in stagnant water or allowing it to rot.
- Wait for shoots. When leafy shoots reach approximately 10–20 cm, gently separate suitable shoots from the parent root.
- Root the shoots. Place their lower ends in clean water in a warm location until roots develop. Refresh water regularly.
- Harden off gradually. Introduce rooted slips to outdoor light and temperatures over several days before planting, keeping them protected from cold nights.
Propagation speed varies with temperature. Tui describes a water-starting method, while Yates explains sprouting a tuber in moist sand. Both approaches aim to produce healthy rooted shoots before planting.
Prepare the right soil for kūmara
Kūmara prefer a sunny, well-drained position with room for spreading vines. Heavy, wet clay can restrict healthy root development and increase the risk of rot. Rather than digging an extremely deep hole, prepare loose soil in raised mounds or ridges so the edible roots can develop in a relatively shallow, warm zone.
Are raised beds good for kūmara?
Yes, provided they drain well and are large enough. Raised ridges are a traditional and practical choice, but a broad raised bed can also work. Our raised garden beds in NZ guide explains how to plan a bed, while our raised-bed timber guide covers suitable materials.
Incorporate mature compost before planting, but avoid overloading the bed with high-nitrogen fertiliser: it may encourage abundant foliage without a proportionate crop of storage roots. If you use a commercial vegetable fertiliser, follow its label rather than adding extra by guesswork.
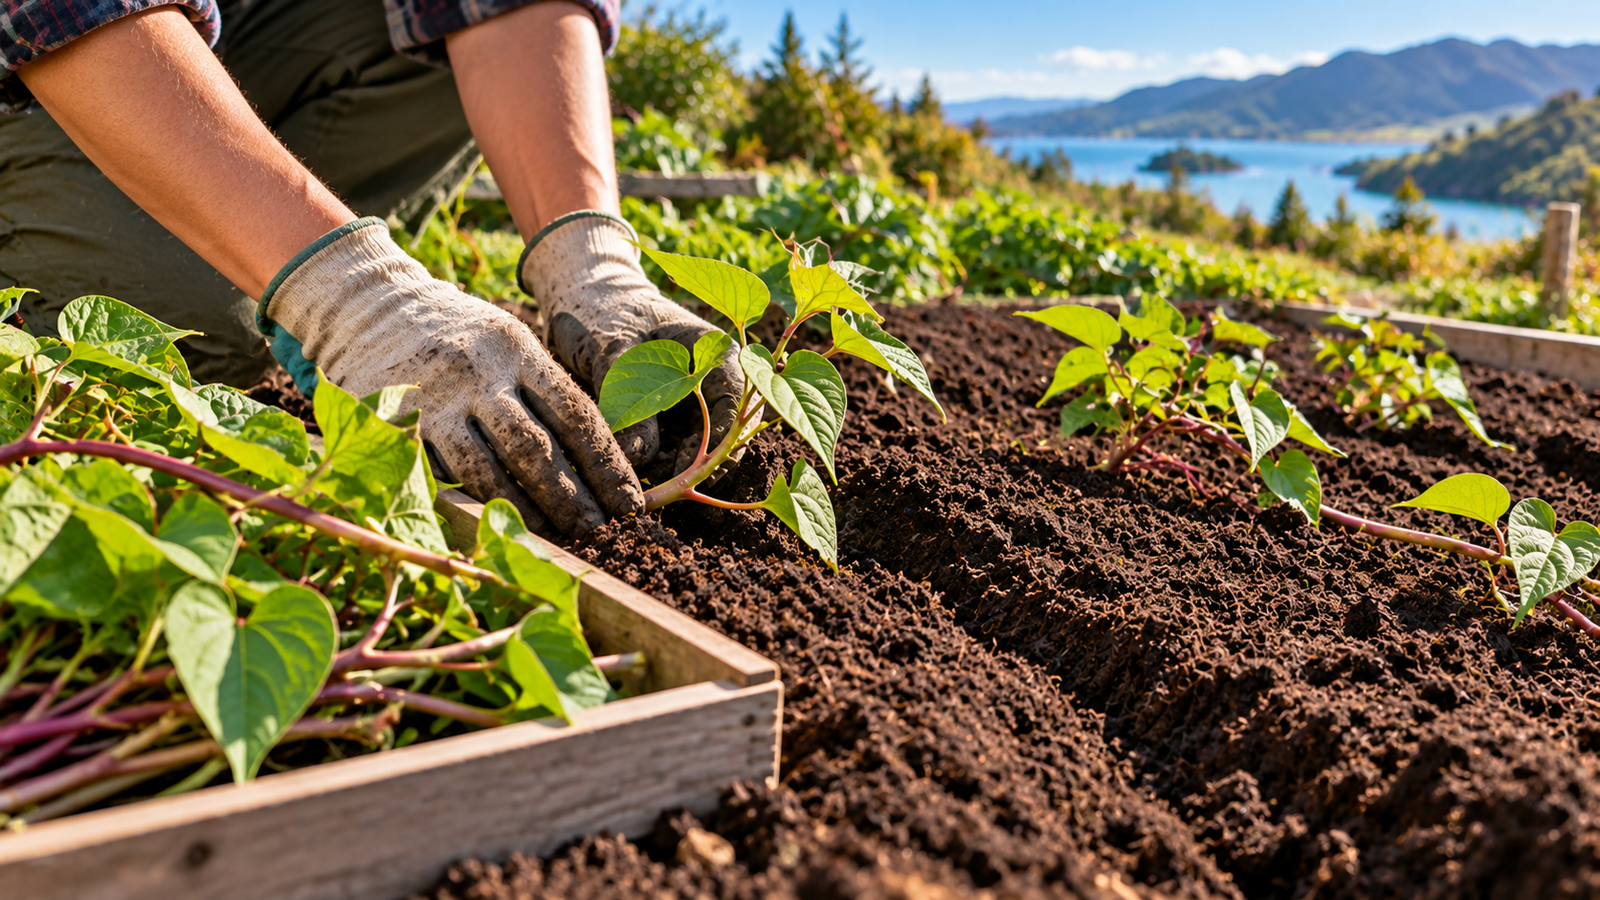
How to plant kūmara slips: step by step
- Wait for warm weather. Do not transplant until frost danger has passed and the soil is no longer cold.
- Make raised ridges. Yates suggests ridges about 20 cm high, with generous space between rows, to improve drainage and access.
- Set out rooted slips. Allow roughly 30–50 cm between plants depending on your method and available space. Tui suggests 30 cm staggered spacing; Yates describes approximately 50 cm on larger ridges.
- Plant shallowly. Position the rooted portion beneath the soil and leave healthy leaves above it. Some growers lay the stem in a gentle J-shape or along the ridge to encourage horizontal development.
- Water in well. Settle the soil around the roots without turning the ridge into mud.
- Protect young plants. Watch for slugs, snails and unexpected cold snaps while slips establish.
Spacing advice varies because growing systems differ. A home gardener using wide ridges will not necessarily use the same density as someone planting a large tub. Give vines room to spread and prioritise drainage over squeezing in extra plants.
How to care for kūmara during summer
Water consistently, especially after transplanting
Young slips need reliable moisture to establish. Later, water deeply during dry spells, then let the upper soil surface begin to dry rather than keeping roots permanently saturated. Mulch can help reduce evaporation, but avoid piling it against stems.
Lift vines to prevent unwanted rooting
As kūmara vines spread, their nodes may root wherever they touch moist soil. Gently lifting or redirecting the vines occasionally can help keep the plant focused on developing its main crop of storage roots. Do not yank or damage established stems.
Feed sensibly
Start with reasonably fertile soil and use a suitable vegetable fertiliser according to the label if growth is weak. Too much nitrogen may produce a lush tangle of leaves at the expense of roots. Healthy foliage is useful, but it is not proof of a large harvest underground.
Keep pests and weeds under control
Check young plants for slugs and snails, and look under leaves for aphids or whitefly. Keep the bed weed-free while slips are establishing. Once vines cover the soil, they may suppress some weeds naturally.
Can you grow kūmara in pots or grow bags?
Yes — and containers may be a practical option in a small garden or a cooler district where plants need to be moved into shelter. Choose a large, deep, free-draining container and give the vines room to trail. Tui discusses grow bags and pots roughly 30–60 cm across; Yates recommends generous containers at least 30 cm deep.
Use a quality potting mix, monitor moisture more closely than in the ground and avoid overcrowding unless you are prepared to water and feed regularly. A container can protect roots from wet garden soil, but it cannot magically replace months of summer warmth.
When and how to harvest kūmara in NZ
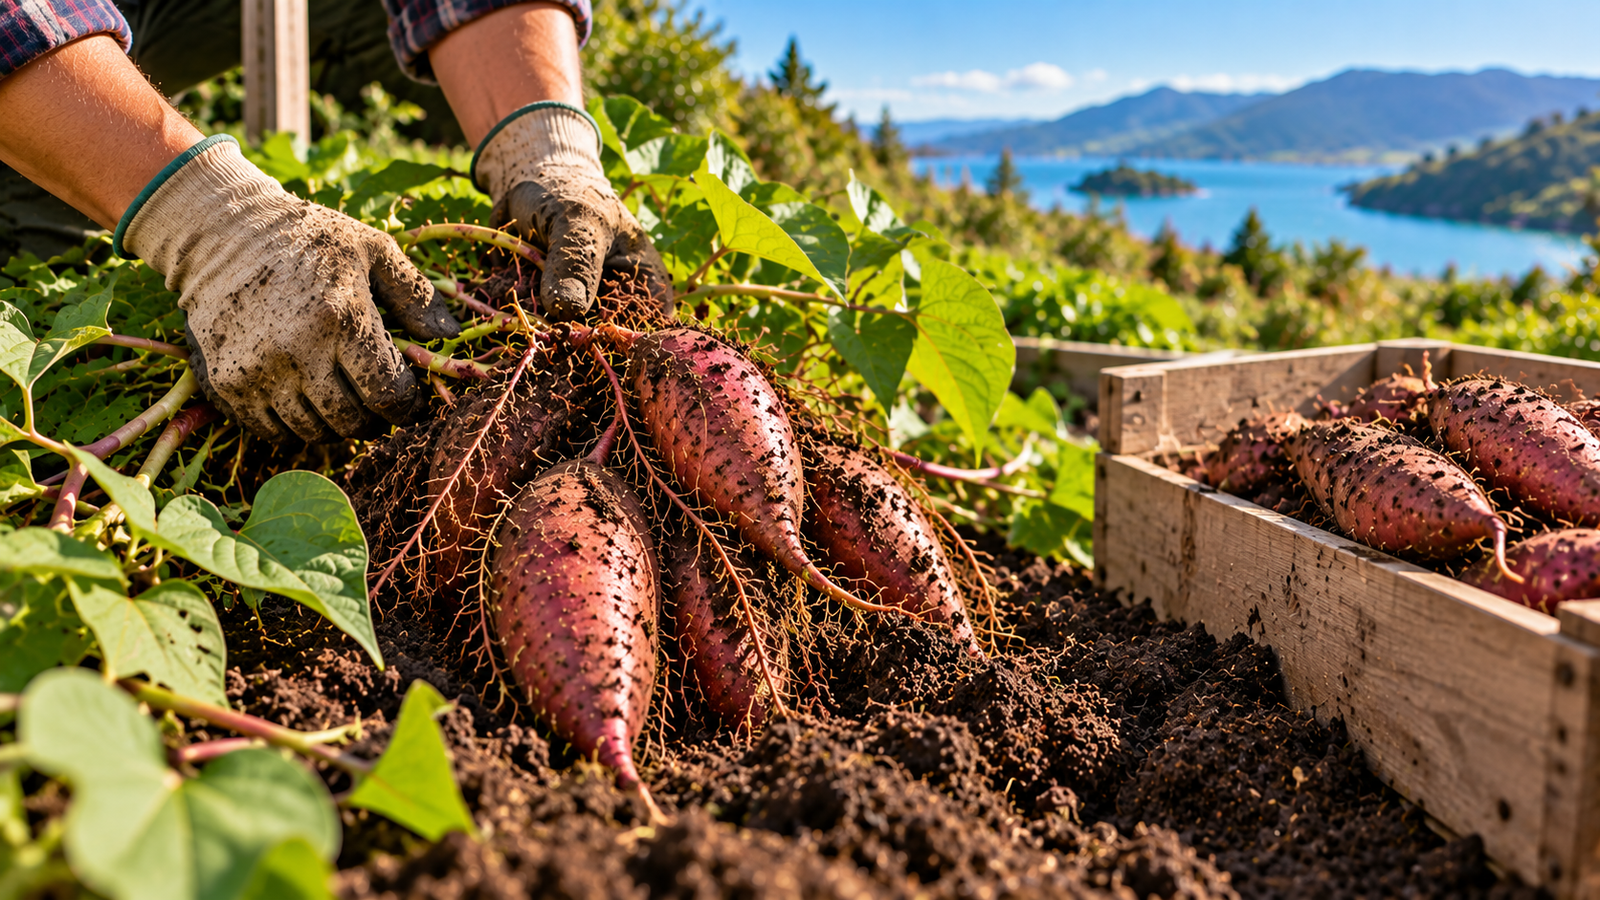
Most crops are ready around four to five months after planting, although weather and variety can shift the timing. Yellowing vines are one useful sign of maturity. In frost-prone gardens, plan to lift the crop before the first damaging autumn frost.
- Check a small section first. Gently feel beneath the ridge or carefully lift one plant to assess root size.
- Cut back the vines. This makes it easier to see where to dig.
- Loosen soil well away from the crown. Use a garden fork carefully; bruised or cut roots will not store as well.
- Lift and sort. Set aside damaged roots for earlier use and keep sound roots for curing and storage.
- Cure before storing. Follow locally appropriate curing advice and keep the harvest protected from cold nights, rain and direct damage.
How should you store home-grown kūmara?
Handle the roots gently, allow their skins to dry and toughen after harvest, then store them in a dry, ventilated, frost-free place. Avoid damp conditions and check the crop periodically for soft spots or rot. Yates describes a short outdoor curing period in suitable weather, while Tui advises protecting the harvest at night. In cold or wet weather, use a protected, well-ventilated space instead of leaving roots exposed.
Why is my kūmara growing leaves but no roots?
Healthy vines are encouraging, but a poor underground crop can have several causes. Use the checklist below to narrow them down.
| Symptom | Likely issue | What to try next season |
|---|---|---|
| Lots of vines, small roots | Too much nitrogen, excess vine rooting or insufficient warmth | Feed moderately, lift vines periodically and choose a warmer site. |
| Slips fail soon after planting | Cold soil, frost, transplant shock or drying out | Wait for settled warmth, harden off slips and water during establishment. |
| Roots rot in the ground | Poor drainage or persistently wet soil | Use raised ridges or a free-draining bed. |
| Good foliage, very late crop | Planting too late for the local growing season | Start slips earlier under cover and transplant promptly when safe. |
| Holes or damaged leaves | Slugs, snails or other pests | Inspect plants early and use appropriate garden-safe controls. |
Growing kūmara NZ: frequently asked questions
What month do you plant kūmara in New Zealand?
October or November is common in warmer areas. Cooler gardens may need to wait until November or early December, but only if enough warm, frost-free growing time remains.
How long does kūmara take to grow?
Allow approximately 120–150 days, or four to five months. Actual harvest time depends on temperature, variety and growing conditions.
Can I grow kūmara from supermarket kūmara?
Sometimes. A healthy supermarket root may produce shoots, but sprouting success varies. Rooted slips from a local nursery are often more predictable.
Can kūmara grow in the South Island?
It can be challenging in cool or frost-prone areas. A sheltered warm microclimate, movable large pot or protected growing environment may improve your chances, but a short summer can limit the crop.
Do kūmara need full sun?
They perform best in a warm, sunny position with good drainage and space for vigorous vines.
Can I plant a whole kūmara directly in the garden?
Gardeners generally get more reliable results by planting rooted slips rather than burying a whole root outdoors. A mature root is useful for producing slips indoors.
Should I cut back kūmara vines?
Regularly lifting or redirecting vines to discourage rooting at extra nodes is commonly recommended. Avoid severe pruning that removes healthy foliage needed for growth.
The bottom line
Successful growing kūmara in NZ comes down to four essentials: warmth, healthy slips, free-draining soil and enough time before autumn frost. Start early under cover if needed, plant only once conditions are suitable and keep vines and moisture under control through summer. With a good site and some patience, home-grown kūmara can be one of the most satisfying crops in the vegetable patch.
Sources and further reading: Tui Garden — Kūmara Growing Guide · Yates NZ — How to Grow Kūmara · Yates — October vegetable gardening.
Related Articles
1 Comment
[…] Growing Kumara in NZ: Planting and Harvest Guide […]